How to Make an Easy DIY Fall Tree
Wait until you see how easy this Easy DIY Fall Tree for the porch is to make! Yes, it’s not only straightforward, but the darn thing is almost free. Let me show you how to add an autumn tree with falling leaves included to your front porch in just a few easy steps.

The Charm of Fall Trees
Don’t you love the changing colors of autumn trees? Those changing colors of leaves grace us with regal views to experience the season. I don’t know about you, but I always think the time between the changing colors, the falling of leaves, and that inevitable moment when they must be removed goes by way too fast. What better way to preserve the fall tree color than to create a version that lasts for years?

Faux Olive Trees
Last spring, I found a way to preserve the look of a maintenance-free tree when I made my own Realistic DIY Faux Tree.

To read an in-depth account of how I created a faux olive tree with a realistic look at a fraction of the retail price, check out my blog post giving all the details.
Easy DIY Fall Tree
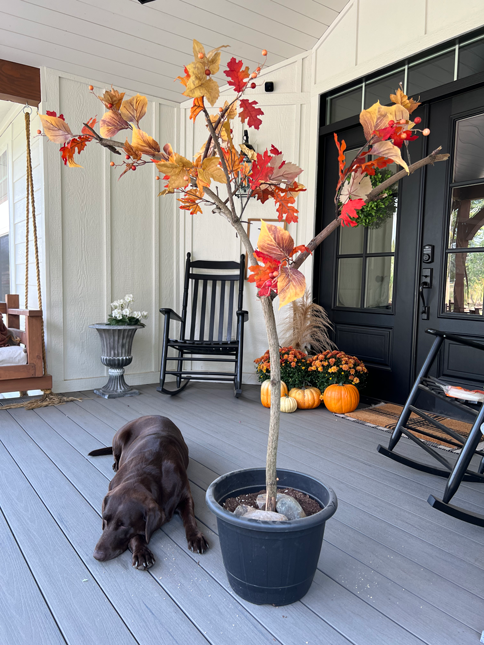
So now, may I present this simple DIY Fall Tree that will not die? What’s more, this tree cost me nothing. I used leftover fall leaf stems from a previous year, a branch from a tree in the yard, hot glue, an old flower pot filled with dirt, and some rocks. Should you choose to do this easy DIY yourself, you will only need to find five or six fall leaf stems in your favorite color hues.

Supplies
- a tree branch
- fall leaf stems
- wire cutters
- hot glue
- drill and small drill bit
- large flower pot filled with dirt
- rocks
Securing the Tree
The first step to crafting a fake tree involves finding an impressive tree branch. The tree branch becomes the tree trunk and branches and makes the tree look realistic. Therefore, find a branch with a pleasing shape, branching, and aesthetic appeal. That’s what makes this one of the most fun steps of the process.
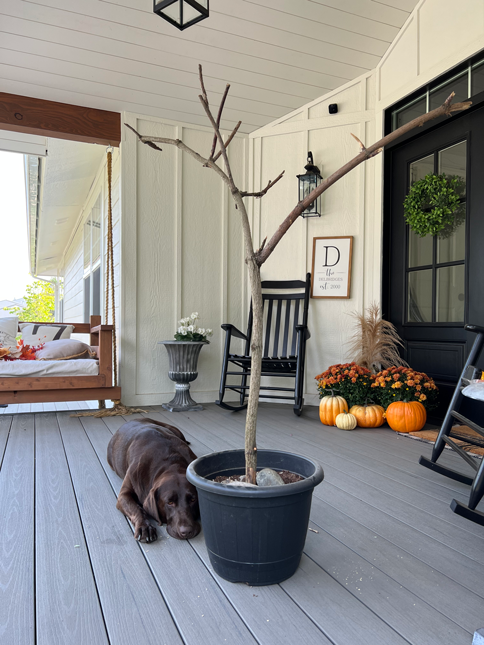
There are two ways I have done these trees. The first method involves floral wire, hot glue, and sand to adhere to and hide the attachment. The second is much easier and uses a drill to make holes to slip the stems into. I prefer the second by far.

Once I have a faux tree trunk chosen, I secure it into a pot. In this case, I found a leftover summer flower pot on the porch. It was filled with dirt already, so I left it this way, knowing I could secure the branch into it with the help of a few rocks for the yard.
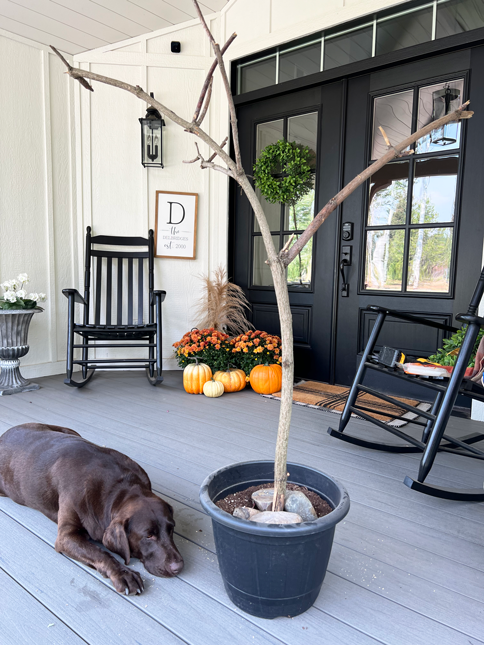
Next, the tree branch was easily secured down into the dirt. Then, I collected three or four hand-sized rocks from the yard and placed them around the base of the trunk. . Of course, concrete is a secure, long-lasting solution because it creates a solid, permanent, and heavy base for the tree. Nevertheless, my method works as a temporary solution, and I can easily deconstruct the tree to store it when the winter decorating season begins.
Shaping the Tree
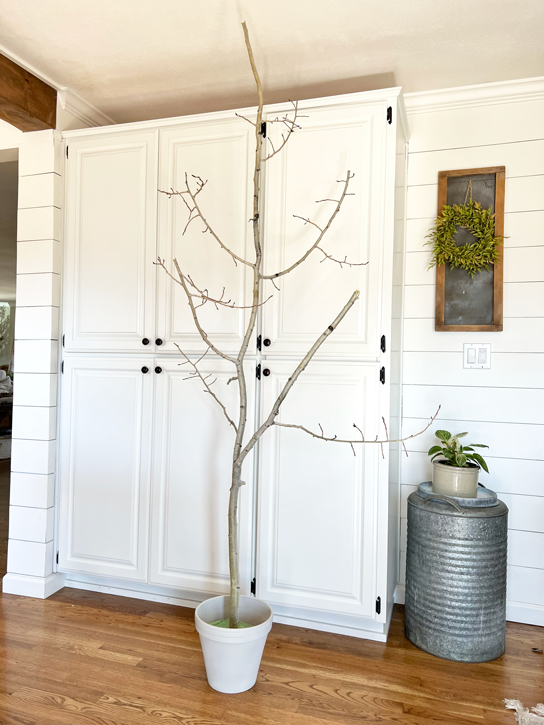
Next, I shape and trim the tree into an interesting and pleasing shape. While it may be true that something like this can be overwhelming, it’s also true that there is no perfect tree growing naturally. So, let’s take all the pressure off and remember that imperfection is beautiful in nature and can be on faux trees too. I think the key is not to trim too much. I leave extra and can always cut more later if needed. My goal, for now, is to get my tree into a manageable, mostly shapely tree. A pair of wire cutters or tree trimming shears work well for this.
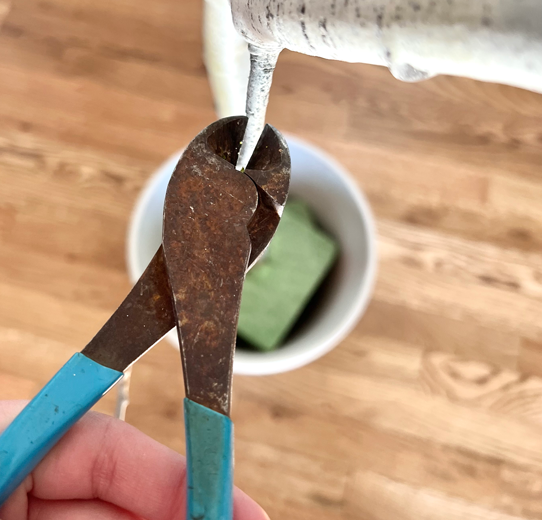
In the case of the autumn tree, I wanted it to resemble a smaller tree. Thus, my branch was much more petite than the one in my original olive tree project.

Adding Life
The hardest part of a DIY realistic-looking faux tree is making it look realistic. This must be why inexpensive commercial fake trees are hard to come by. Fortunately, there are a few simple solutions. Beginning with a real tree branch is helpful. Nevertheless, I admit it took a few tries before I nailed down my favorite way to get a realistic appearance. Let me elaborate.

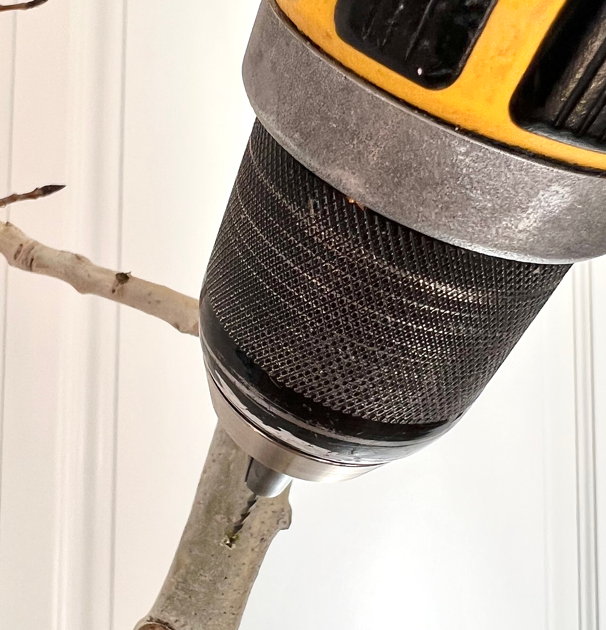
First, you’ll want to prepare the tree for the fall foliage you’ll add, so drill a small hole, angling the drill bit downward and towards the center of the tree. This will eliminate as much faux look as possible. Moreover, a downward angle will hold and support the stem securely.
To begin attaching the stems, start by snipping the faux fall leaf stem at the base of the foliage while leaving enough to insert into the drilled hole. Then, carefully cut the plastic covering without cutting the wire inside. Next, pull the plastic off while leaving the wire exposed. The end portion is the part that will fasten inside the drilled hole. Now, press the wire into the drilled hole. Measure and cut the wire to fit.
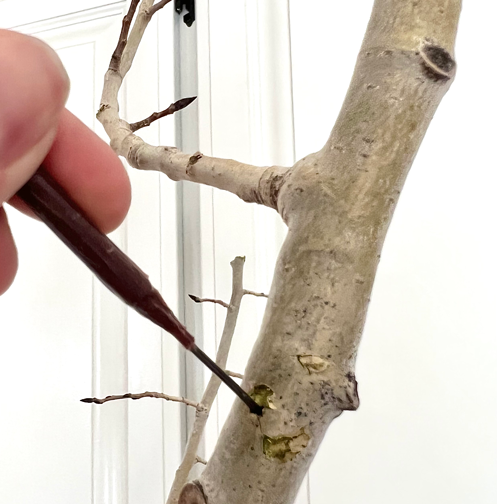
Continue this until the tree is covered and shaped with foliage to the desired look. Consistently stand back to get an overview of the look from a distance.
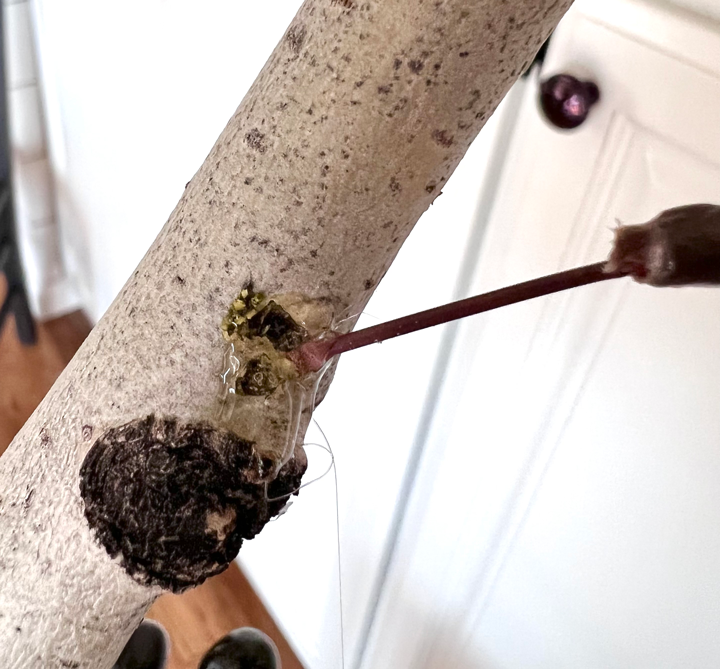
Next, use hot glue to go back and secure each stem in place permanently. It doesn’t take much.
Finishing Touches
As the last step, I like to trim any spots I might not have cut initially. Also, I want to fluff the leaves and arrange the overall tree in the shape I love. A few leftover leaves placed in the pot or at the base on the porch floor help add to an overall authentic autumn look.
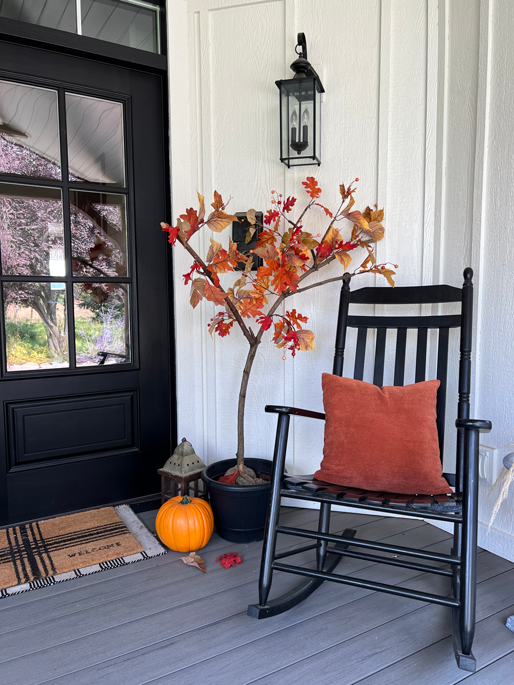
There you have it! A beautiful realistic faux fall tree to decorate your romanticize your autumn porch and welcome guests in the most charming way. As always, thank you for joining me here and supporting the blog.
Finally, here are a few of my favorite fall trees to buy. As much as I like to DIY, sometimes it’s nice just to buy it.
~Get behind the scenes of the blog by joining me on Pinterest and Instagram.~

*This post contains some affiliate links for your convenience. I make a tiny portion of the sale with no additional cost to you whatsoever. Click here to read my full disclosure policy. Thank you for supporting this blog.*






0 Comments