DIY Mercury Glass Votives: A Step-by-Step Guide
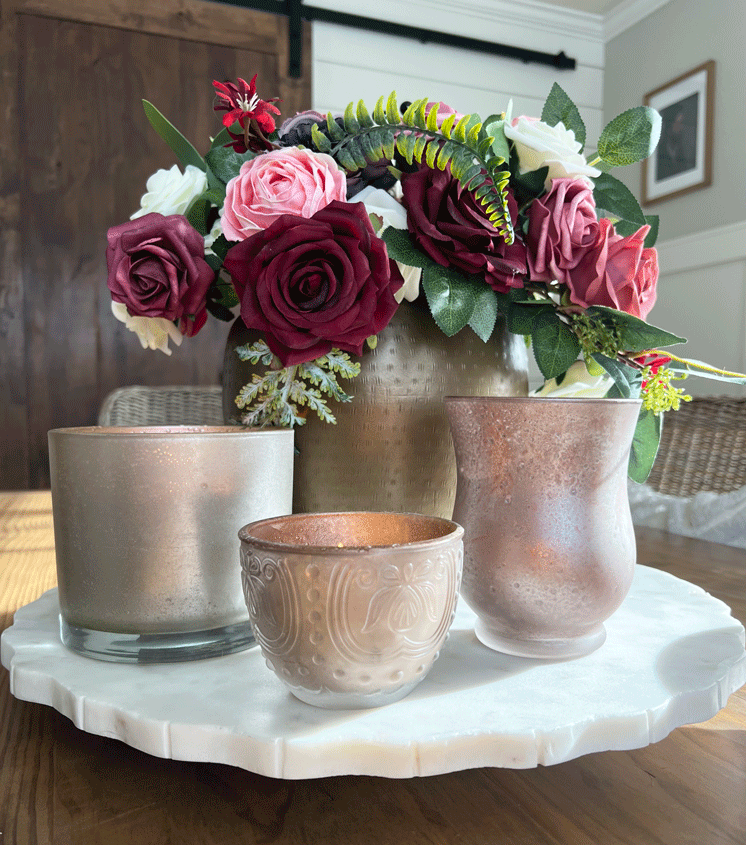
DIY mercury glass votives are a beautiful and elegant touch to any home decor. With the proper materials and techniques, anyone can turn old glass jars or vases into shimmering, vintage-looking pieces. The following is a step-by-step guide to making your own mercury glass votives.
The beauty of DIY mercury glass votives is that you can find a variety of shapes and sizes of glass containers to use as votives, such as old glass jars or vases. These can often be found at thrift stores, secondhand shops, or garage sales. If you can’t find a suitable glass container at these locations, craft stores typically carry a wide selection of glass jars and vases in different shapes and sizes that can be used to create your own mercury glass votives. With a bit of creativity and imagination, the possibilities for creating unique and stunning mercury glass votives are endless. So, whether you’re looking to add a touch of vintage charm to your home decor or simply looking to create a beautiful and functional piece of home decor, making your own mercury glass votives is a fun and fulfilling DIY project that is well worth the effort.
What You’ll Need
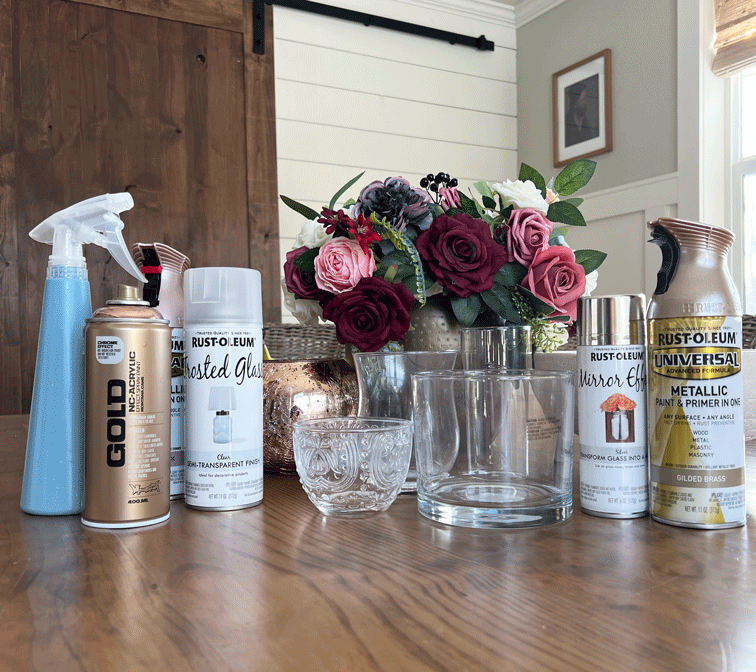
- Glass jars, votives, or vases
- Krylon Looking Glass spray paint
- 1 part vinegar/ 2 parts water mixture
- Rust-Oleum Metallic Champagne Mist spray paint
- Rust-Oleum Pearl Metallic Champagne Pink (optional)
- Montana Cans Metallic Color, Copper Spray Paint (optional)
- blow dryer
- paper towels
Finding Glass Votives
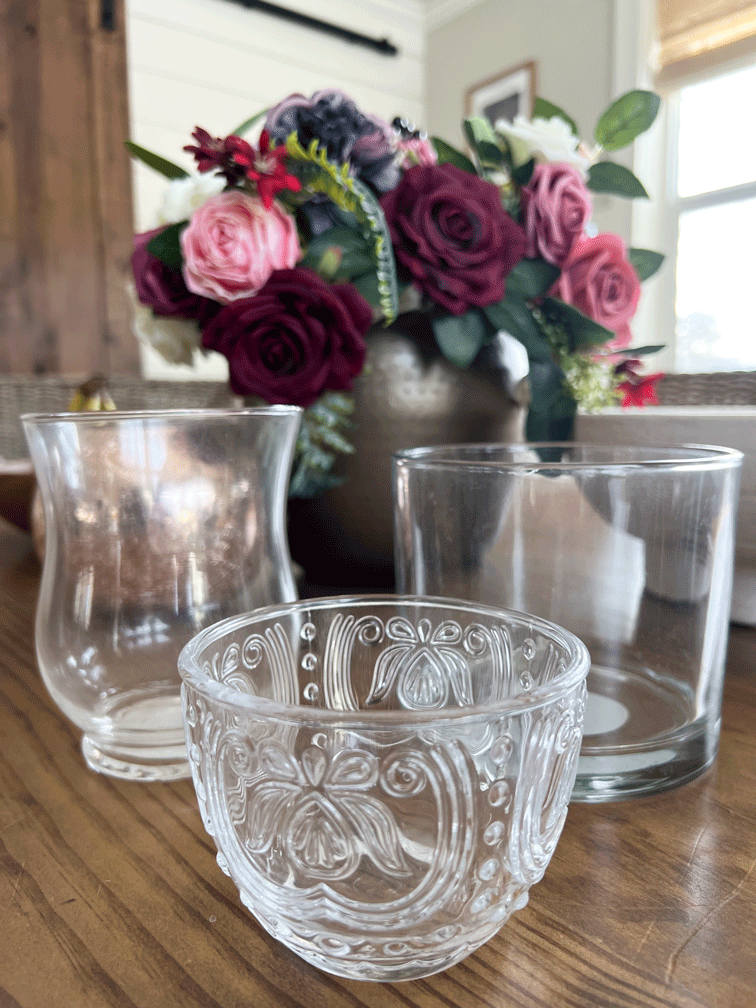
When making mercury glass votives, the shape and size of the glass container can significantly impact the final product. To add visual interest and variety to your votives, consider finding different shapes and sizes of glass containers. Thrift stores and second-hand shops are great places to find unique and unusual glass jars and vases at affordable prices. Craft stores also offer a wide range of glass containers, including mason jars, candle holders, and vases in different shapes and sizes. Don’t be afraid to get creative and think outside the box when choosing your glass containers – even something as simple as a glass food container can be transformed into a beautiful votive with a bit of paint and sealant. With suitable materials and techniques, the possibilities are endless when it comes to creating stunning and unique mercury glass votives.
Step 1: Cleaning the Glass
First, it is essential to clean the glass jars or vases that you will be using to make the votives. This can be done by wiping the outside of each jar or vase with a damp cloth to remove any dirt, dust, or fingerprints. Then, fill each jar or vase with warm water and a drop of dish soap and let it soak for a few minutes. Finally, rinse them thoroughly with warm water and dry them with a clean cloth.
Taping the votive on the outside is a crucial step to prevent overspray and protect your work surface. Start by taping around the base of the votive and then add additional tape along the sides as needed. The tape should be tightly secured, but not so tight that it stretches the glass or causes it to break.
Step 2: Preparing the Spray Solution
Next, you need to prepare the spray solution that will be used to create the mercury glass distressed look. In a spray bottle, mix together two parts of water and 1 part of white vinegar. Shake the bottle to make sure that the ingredients are thoroughly mixed.
Step 3: Applying the Silver Spray Paint
The third step is to apply the silver spray mirror paint. Hold the glass jar or vase about 6 to 8 inches (or place it on a paper-covered table) away from the silver spray paint can and spray the inside of the jar or vase. Specifically, spray covering all surfaces with a light and even coat of paint. Moreover, decide how transparent you’d like the glass to remain and apply the silver paint in accordance. In other words, a little spray will create a more transparent look, while more coats will give it a more silver look.
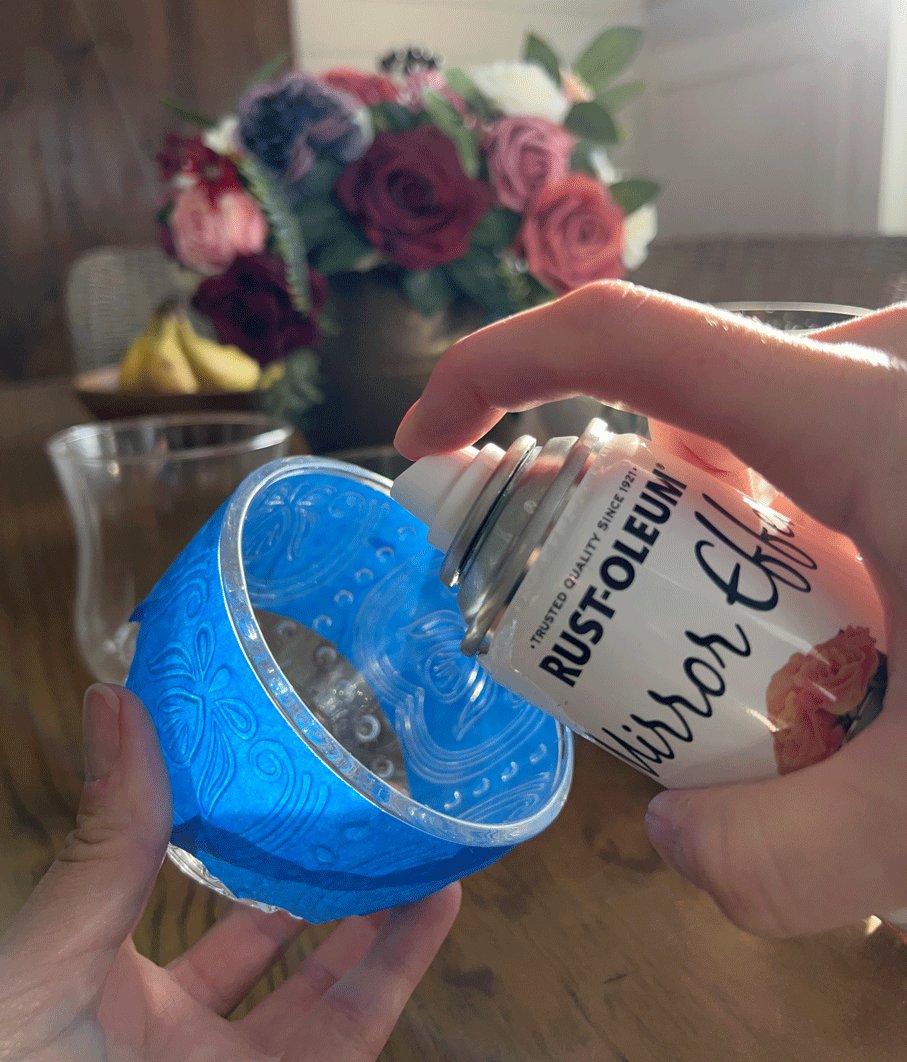
Step 4: Applying the Spray Solution
Next, it’s time to apply the water & vinegar spray solution to the inside of each glass jar or vase. You’ll want to work quickly to prevent the paint from drying too much. Spray the solution evenly and liberally, covering all surfaces of the glass. This will cause the silver spray paint to adhere to the glass in a more even and uniform manner later. For best results, adjust the spray bottle to the mist setting. It’s essential not to use the spray or jet setting. Next, gently spray the inside of your votives until beads of water appear on the surface of the glass. This will ensure that your DIY mercury glass votives look as beautiful and elegant as possible.
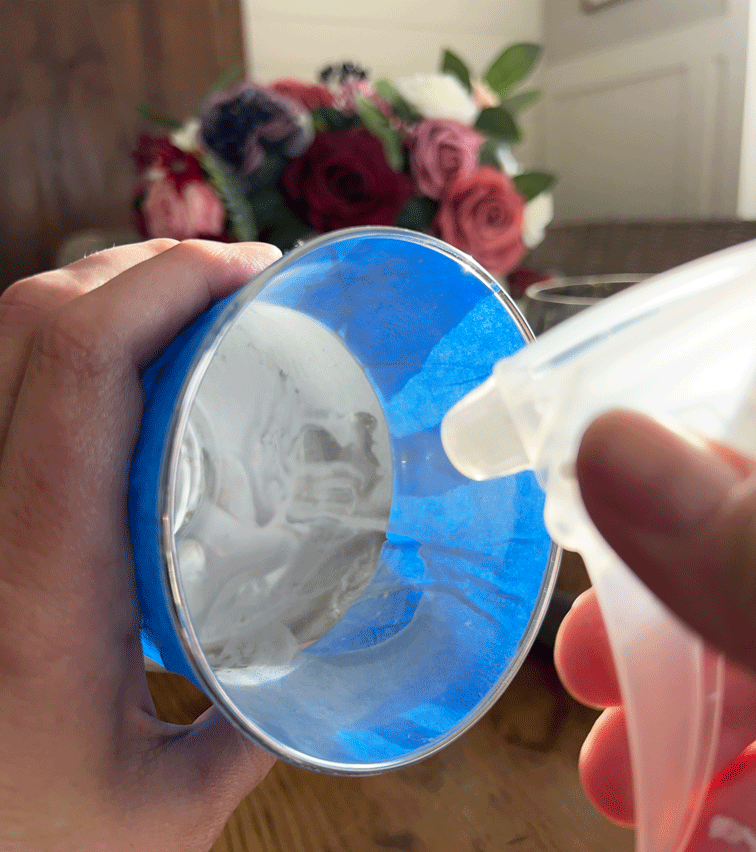
Step 5: Layering in Color (optional)
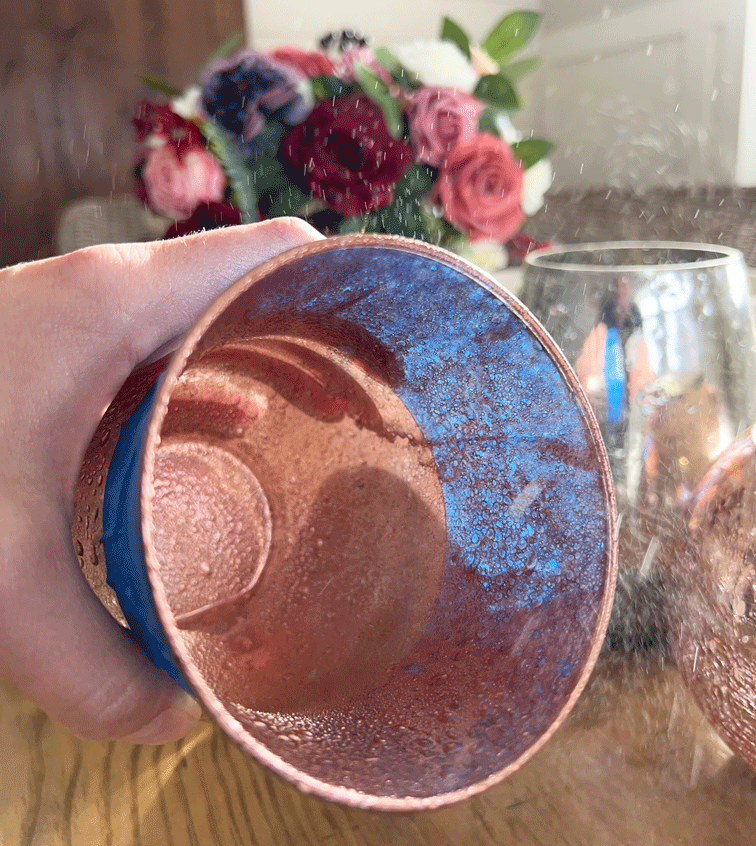
Another equally fun step comes next. This step allows for some choice and freedom of creativity. My preferences typically include subtle and soft colors and finishes. For this reason, I often choose the faint contrast of metallic gold spray paint to complement the silver mirror paint. The gold spray goes into the votive as the others did. Starting with a less is more philosophy, I added more spray each round to get the desired look. The gold added the perfect subtle touch. The blow dryer is also handy here to quicken drying time.
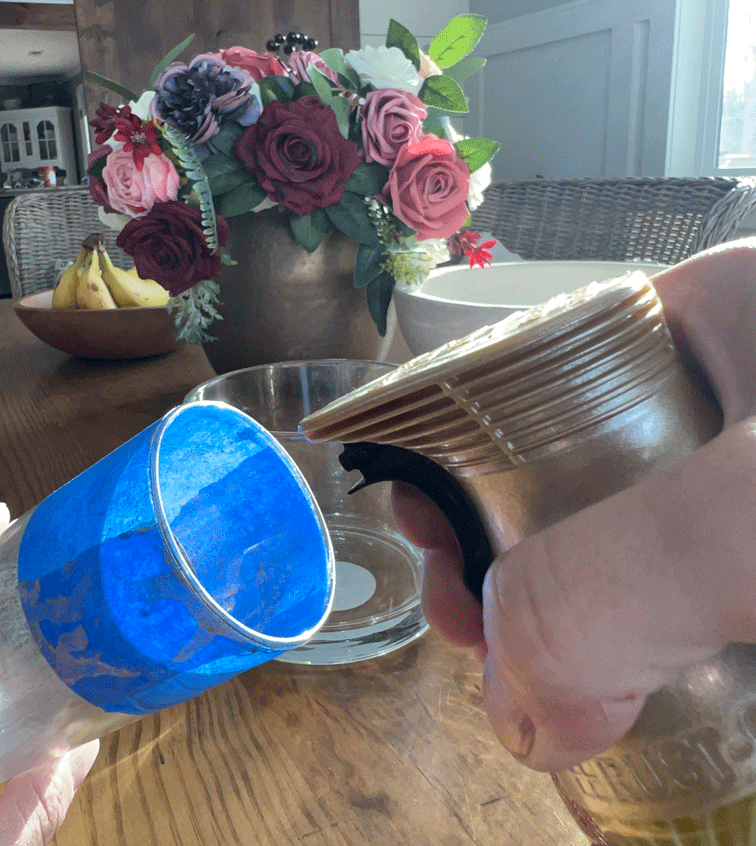
Although gold is a favorite color layer, I love experimenting with many different color options. For example, layering in black metallic paint gives the piece a dark and moody look. In contrast, layering in soft champagne, shiny copper, or metallic pink also gives the glass an elegant look. There are so many new metallic paints to use, the creative combinations are endless. In fact, I’ve even used the frosted spray paint on the outside of the glass to add another layer of interest.
Step 5: Sealing the Mercury Glass Votives (optional)
To further protect your mercury glass votives and keep them looking their best, you can apply a clear sealant to the inside of the jars or vases. Simply spray a light and even coat of clear sealant over the silver spray paint and let it dry completely. This will help to prevent any chipping or scratching of the paint and will ensure that your votives will last for years to come. Disclaimer: I skip this step and have never seen problems. Still, the added protection is excellent for those who prefer it.
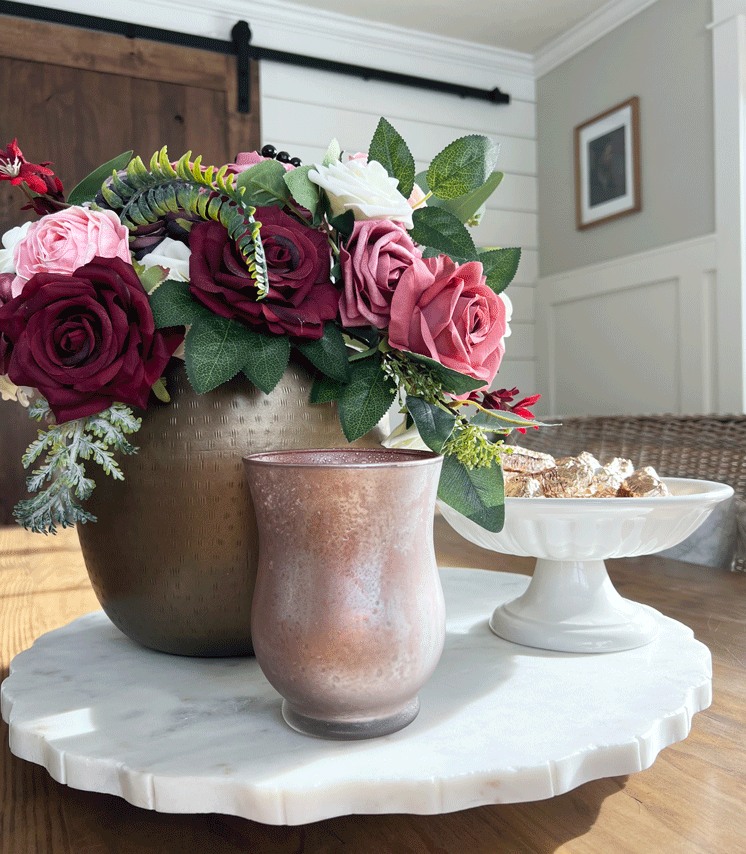
Step 6: Adding a Candle and Enjoying!
Finally, it’s time to enjoy your new mercury glass votives! Fill each jar or vase with a votive candle, light it, and place the votives in your desired location. The candlelight will shimmer and reflect off the silver paint, creating a beautiful and romantic ambiance in any room.
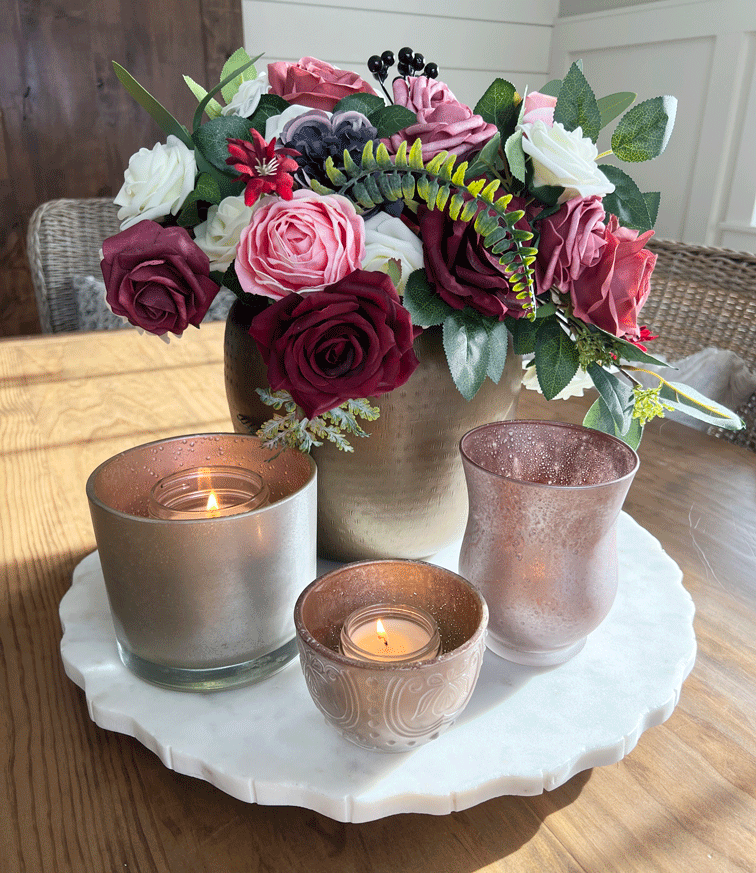
Decorating with DIY Mercury Glass Votives
Decorating with mercury glass votives adds a touch of elegance and sophistication to any room. The shimmering, reflective glass creates a warm and inviting ambiance, perfect for setting a romantic mood or adding a style to your home decor. When the votives are lit, the candlelight dances and glimmers off of the silver paint, filling the room with a soft, glowing light that is both warm and inviting. Whether you place them on a mantel, a table, or on a windowsill, mercury glass votives are the perfect way to add a touch of charm and style to any room in your home
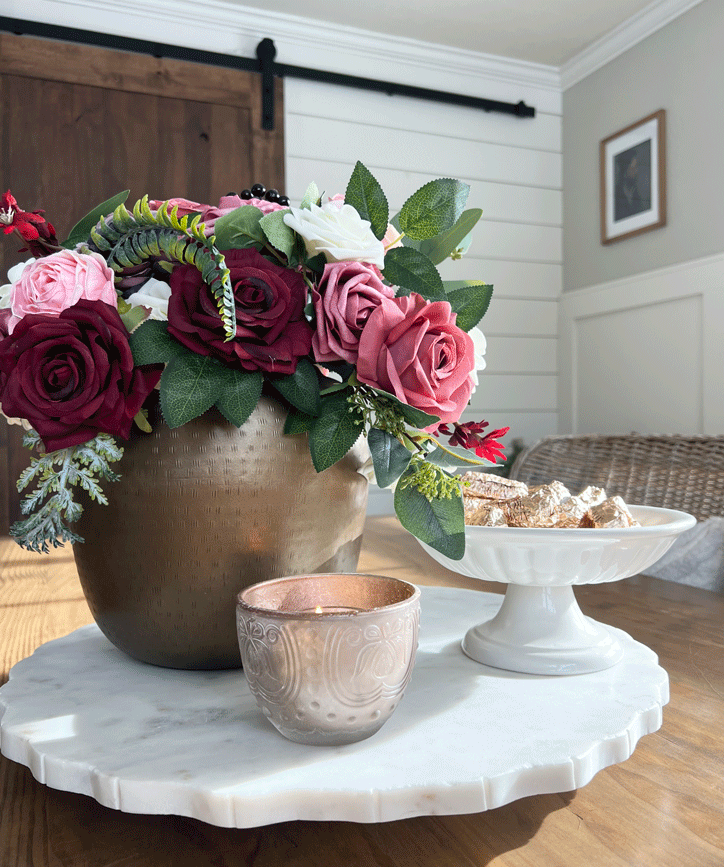
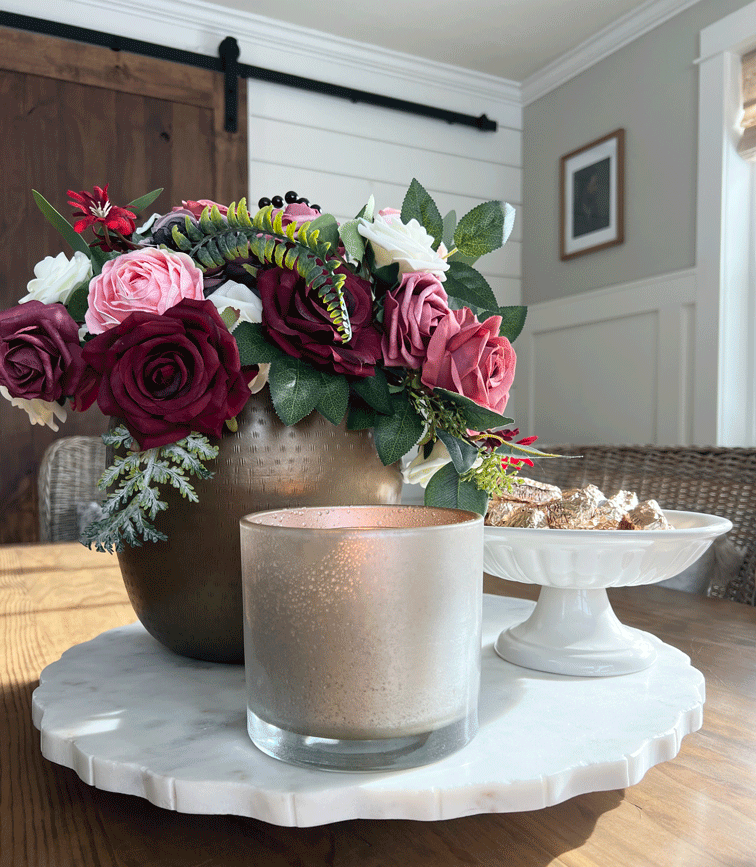
.In addition to creating a beautiful and romantic ambiance, mercury glass votives are also versatile and can be used in a variety of different ways. They can be used as a centerpiece, on a mantel, or as a decorative display on a shelf or table. They can be arranged in groups of varying sizes and colors to create a unique and eye-catching display, or they can be used individually as accent pieces throughout your home. Regardless of how you choose to use them, mercury glass votives will become a cherished part of your home decor for years to come.




0 Comments