
How to DIY Fake Decorative Trees
Join me as I share tips and tricks for how to create realistic DIY faux trees for decorating your home. This is a fun one! Then, scroll down to see more amazing DIY ideas from my amazing friends in the DIY Collective.

Let’s start by getting the truth out there! There is nothing wrong with faux plants and trees. Admittedly, I know what you’re likely thinking. Fake plants are synthetic eyesores with a poor design reputation. While I agree that the faux plants of yesteryear may have deserved this ruling, I believe fake plants have made a solid return for good reasons.

The Case for Decorating with Faux Trees
As much as I would love to dawn the hat of a master gardener and grow real trees in my home, the bottom line is that I end up spending too much money for them to eventually die. In the case of you being a master gardener, I bow to you and encourage you onward. In my reality, I live in a winter region and simply do not have enough time or experience to nurture faux trees through the long dark months. Instead, I keep a few hardy plants around that are easily maintained and go unforgivably faux on the rest.
Carefully chosen imitation plants and trees of today are long-lasting, realistic, and beautiful. Therefore, I am a loud and proud owner of many faux plants and a few trees. Consequently, I never water them, rarely dust them, and have fooled enough guests with their realistic appearance to call it a win! Why? Namely, the new faux is everything the shabby plastic plants of the past were not. They’re durable, low-maintenance, and stunningly realistic. I could even argue in some cases that they look better with their permanent perfect shape.

Realistic DIY Faux Trees
Here’s something amusing. I don’t buy my fake trees. For one thing, I’m frugal, and they are spendy. Now, don’t get me wrong. I think the good ones are worth the investment. Even so, you can’t take the DIY out of this girl, so I found a way to make my imitation trees half real and half fake with my easy realistic DIY faux tree hacks.
DIY Faux Trees: What You’ll Need
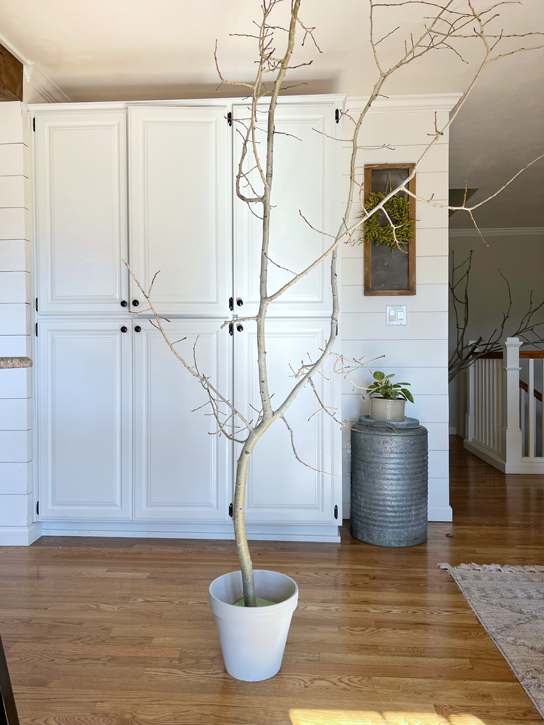
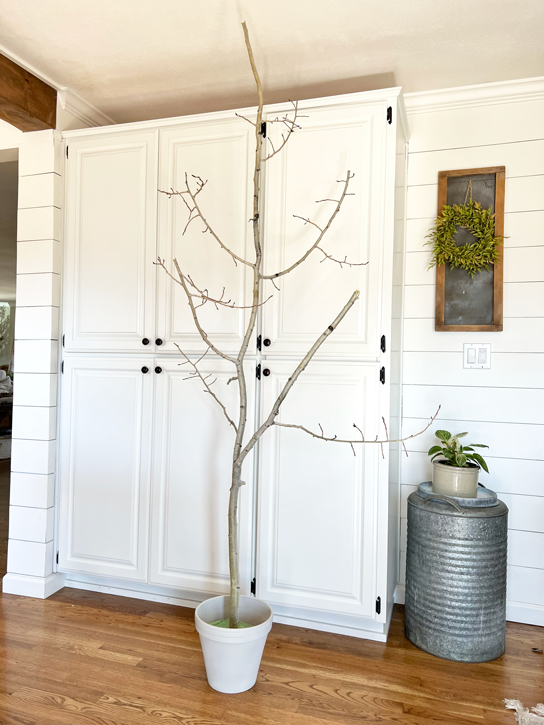
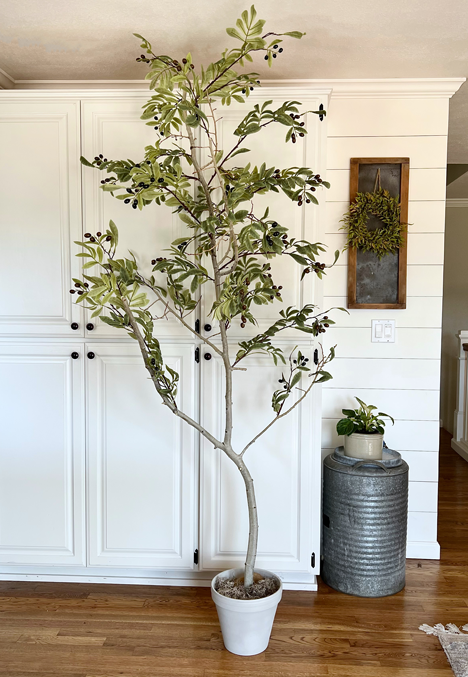
The first step to crafting a fake tree involves finding an impressive tree branch. Since it becomes a realistic trunk for the tree, finding one with an aesthetic shape and branching is necessary. Thus, this is one of the most fun steps of the process. Therefore, I tend to pick branches much bigger than I will ever use. Then, I cut and trim the branches later as needed.
There are two ways I have done these trees. The first way involves floral wire, hot glue, and sand to adhere and hide the attachment. The second is much easier and uses a drill to make holes to slip the stems into. I prefer the second by far. When drilling is not possible, the second method will do.
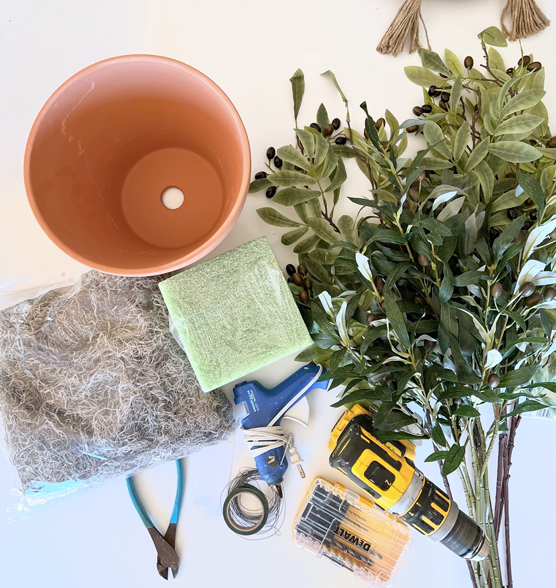
Supplies
- tree branch with branching in the desired size
- wire cutters
- drill and small drill bit
- floral foam
- large flower pot
- Spanish moss or green moss
Optional (substitute for drill and bit)
- hot glue
- sand or sawdust
- floral wire

Preparing the Pot
Once I have a faux tree trunk chosen, I secure it into a pot. Typically, I spend little time concerned with the look of the container. In this case, I found an inexpensive terracotta pot and painted it white. The small container allows me to style and restyle my home throughout the seasons because I can set it inside larger baskets and vases.
Securing the Tree Trunk
Next, the tree branch is easily secured with dry floral foam or concrete. Of course, concrete is a secure, long-lasting solution because it creates a solid, permanent, and heavy base for the tree. Nevertheless, I used dry floral foam for its ease. Whereas, mixing concrete was not on my list of messes for this project.
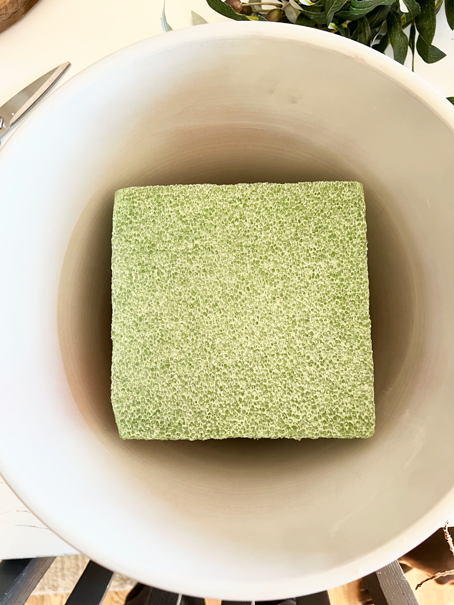
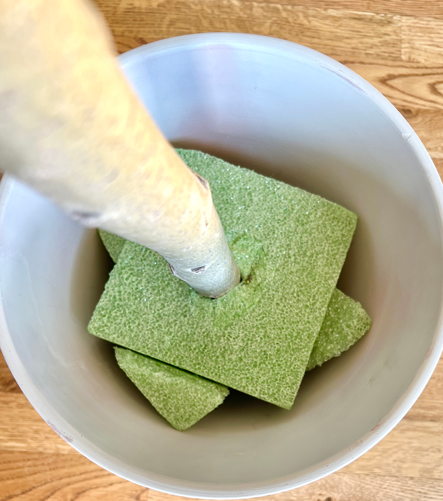
Floral foam comes in all shapes and sizes. This project involved finding an appropriate cube to fit inside my container. To help secure it into the smaller circumference of the container bottom, I cut off all four corners on one side of the cube. Then, I jammed the extra pieces into the open space, ensuring that my foam was packed as tightly as possible. Lastly, I pushed the branch straight into the foam as far as it went keeping the foam tight around the trunk. As a result, the tightly packed foam around the base makes it secure.
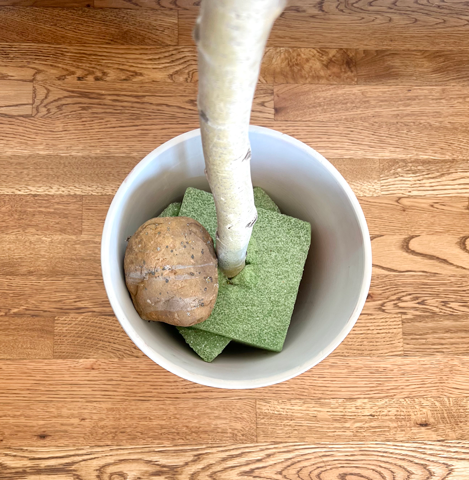
I also added a stone to one side since the branches weigh the tree in one direction. Not only does the stone put more weight at the base, but also adds a fun touch.
Trimming & Shaping a DIY Faux Tree
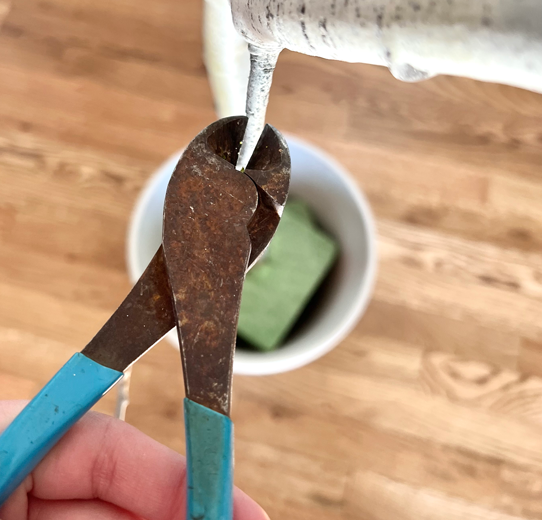
Next, I form and trim the tree into an interesting and pleasing shape. While it may be true that a task like this can be overwhelming, it’s also true that there is no perfect tree growing naturally. So, let’s take all the pressure off and remember that imperfection is beautiful in nature and can be on faux trees too. Nonetheless, the key is to not trim too much to start. For this reason, I leave extra which can always be trimmed later. In other words, my goal, for now, is to get my tree into a manageably shaped tree. A pair of wire cutters or tree trimming shears work well for this.
Attaching Branches
The hardest part of a DIY realistic-looking faux tree is making it real. This must be why inexpensive quality commercial fake trees are hard to come by. Fortunately, there are a few simple solutions. Despite this, it took a few tries before I nailed down my favorite way to solve it. Let me elaborate.
My first round started with floral wire, hot glue, and sand. Yes, I did say sand. After wiring each and every floral stem to the trunk with hot glue and floral wire, I poured sand into the hot glue as it was cooling. The technique worked brilliantly in mimicking the look of the tree trunk.
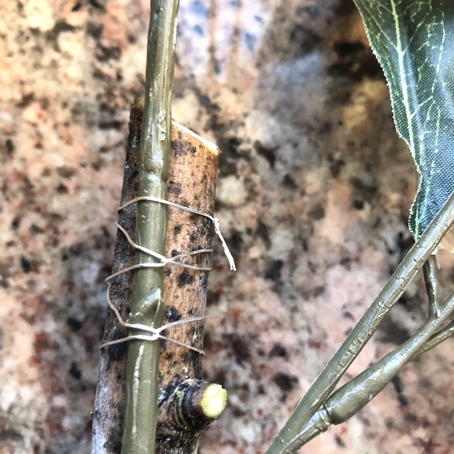
First, I wired the floral stem to the branch.
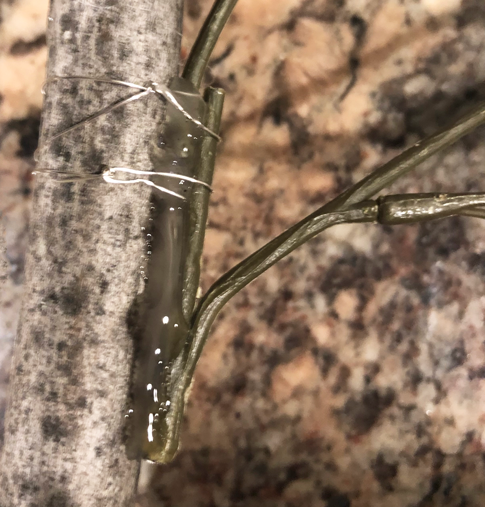
Next, I added hot glue to stabilize and secure it.
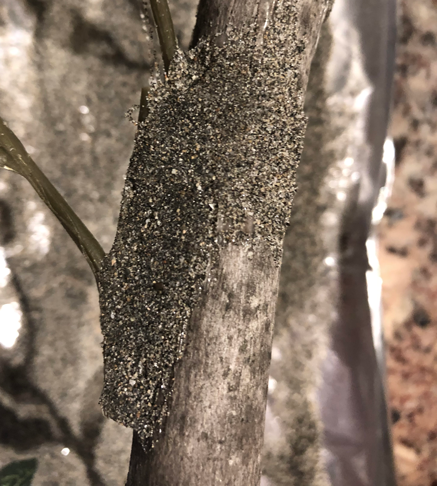
Finally, I poured sand to hide the glue/wire and create a realistic look.
Amazing, isn’t it? I loved how the tree turned out. It was a miracle, and I only paid about thirty dollars for it. How could I be anything but excited? Here’s the fascinating part. I knew it’d be a long time until I made another. The problem? It all boils down to this. The process was a long and messy ordeal despite the beautiful outcome. You won’t believe what I discovered next.
Easy DIY Realistic Faux Tree
Fortunately, there was a simple solution, and it all started with a girl, a drill, and a tiny drill bit. As I sat there admiring all my hard work, I remembered the branch was made of wood. Subsequently, I wondered what would happen if I drilled tiny holes and inserted the floral stems into the holes. Friends, a clever solution was born! So let me share with you my all-time favorite way to make realistic DIY faux trees.
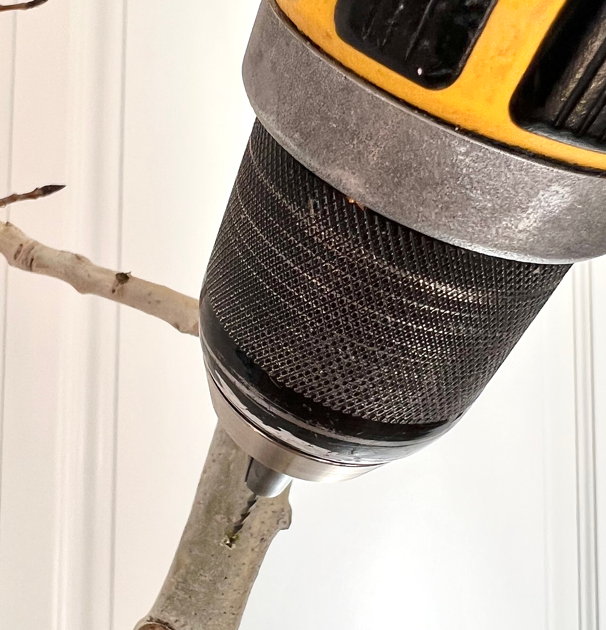
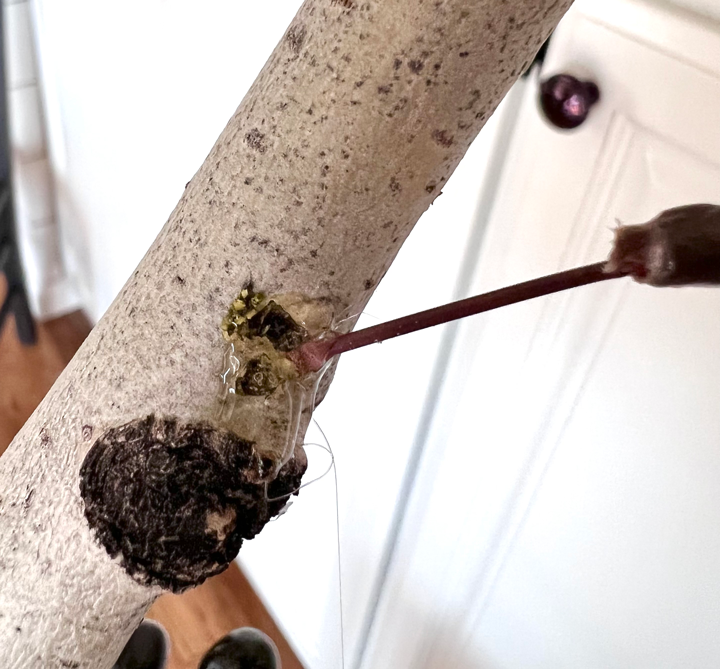
First, drill a small hole angling the drill bit downward and towards the center of the tree.

Specifically, a downward angle will hold and support the stem securely.
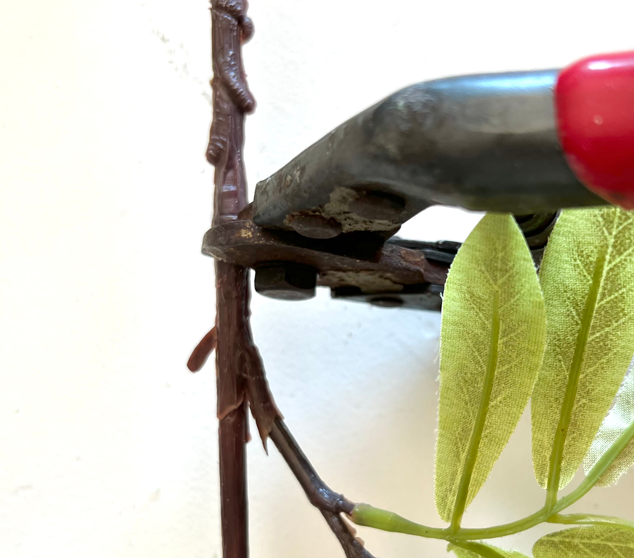
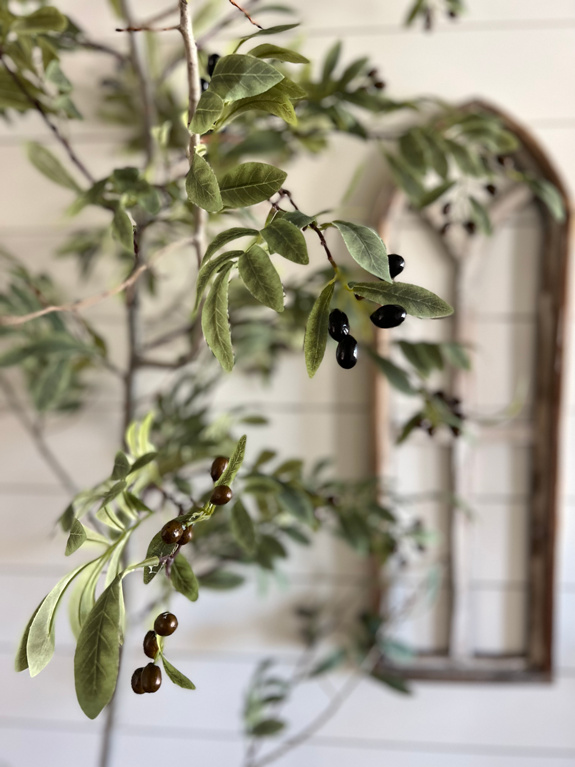
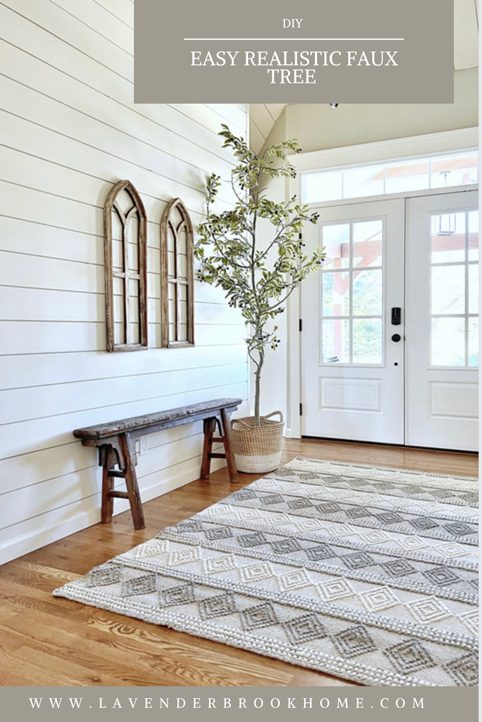
Next, trim the faux foliage stems to the base of the foliage leaving about two or three inches. As an example, I used 11 of my favorite olive stems.
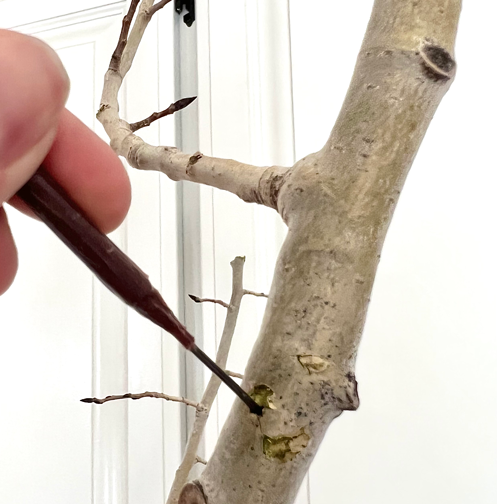
Then, carefully cut the plastic covering without cutting the wire inside and pull the plastic off while leaving the wire exposed. This is the part that will fasten inside the drilled hole. Next, press the wire into the drilled hole, measure, and cut the wire to fit.
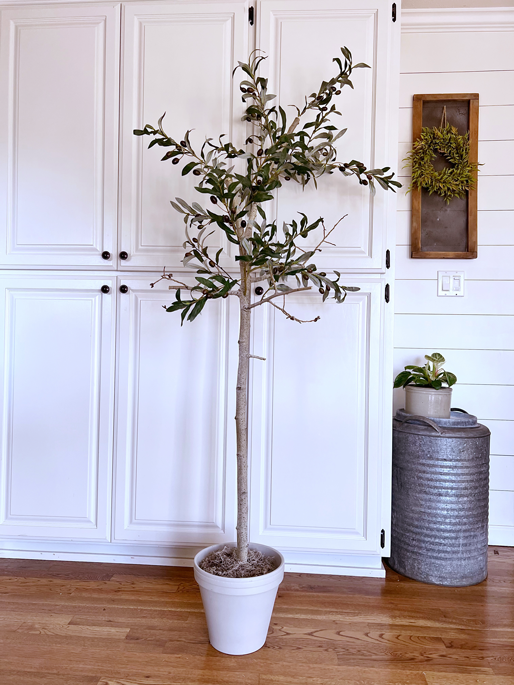
Continue this until the tree is covered and shaped with foliage to the desired look. Meanwhile, consistently stand back to get an overview of the look from a distance.
Finally, use hot glue to go back and secure each stem in place permanently. It doesn’t take much.

This version of the DIY tree was easy enough that my 15-year-old son decided to make his own for his room.
I love how his tree turned out too. To be sure, it’s a smaller version with a topiary-type feel and is perfect for his room.
There you have it! A beautiful realistic faux tree do-it-yourself style.
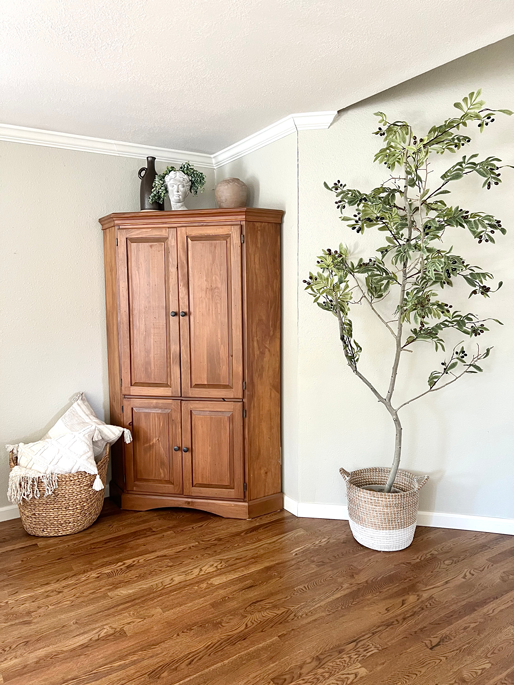
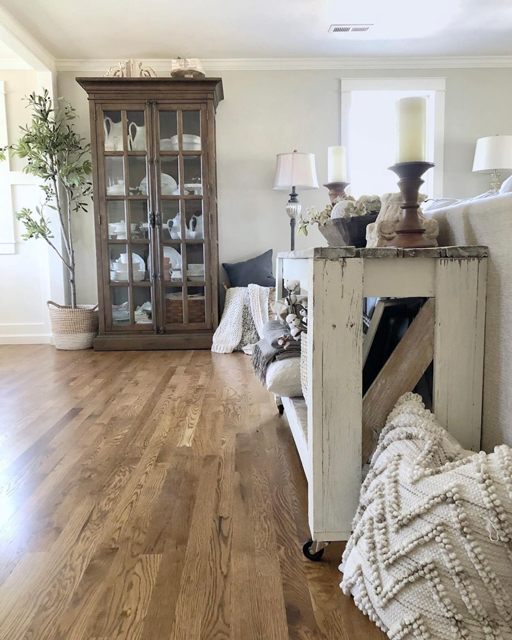
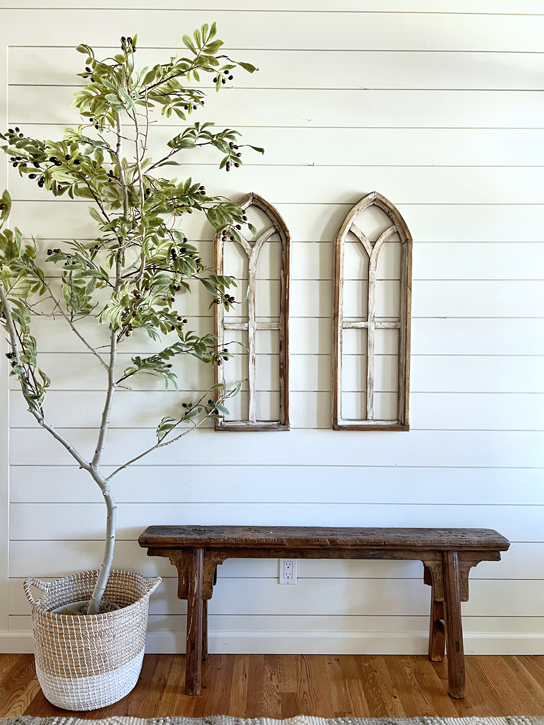
Decorating with Faux Trees
To conclude, I love how the realistic DIY faux tree adds life and interest to my home at a fraction of the cost. Not to mention, a life-like tree adds dimension to my decor and makes me happy. On the other hand, it brings me even greater joy to share it with you. In any event, I hope you can add one to your home too. Should you DIY it or buy it? That’s up to you. Thank you for joining, friends.
~Get behind the scenes of the blog by joining me on Pinterest and Instagram.~
*This post contains some affiliate links for your convenience. I make a tiny portion of the sale with no additional cost to you whatsoever. Click here to read my full disclosure policy. Thank you for supporting this blog.*


0 Comments