

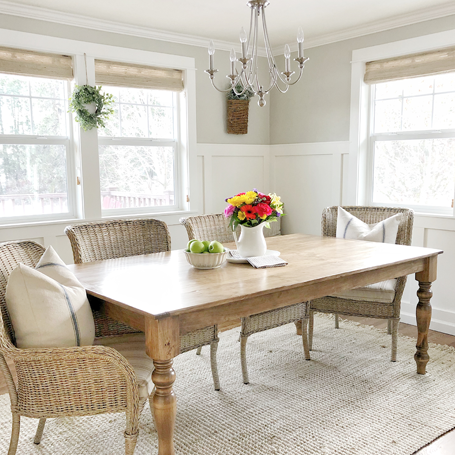
DIY Board and Batten Wainscoting
Join me and a few talented ladies from the DIY Inspire Collective as we share our favorite DIY projects monthly. Enjoy my DIY board and batten tips. Then, scroll to the bottom to see four more stunning DIY projects linked for easy clicking. You’ll love these girls and their incredible ideas!
Learn how to install board and batten wainscoting and provide architectural interest to a room in a few easy steps. Furthermore, custom details are the most cost-effective way to add a stunning design element to a home. As a result of its timeless appearance, board and batten wainscoting will add value and interest for many years to come.
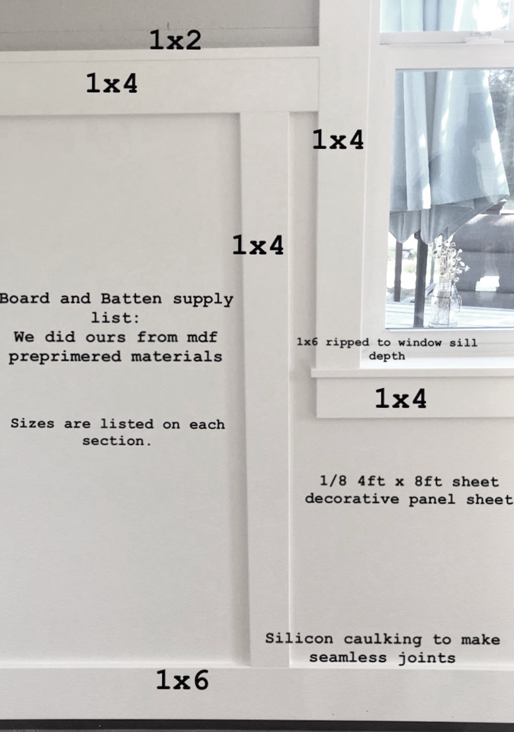
Here’s what you’ll need:
- 1/8 in backer board sheets
- wood/MDF in the width you want for the batten
- optional 1 x 2 top trim
- optional 1 x 6 baseboard
- nails (we used a cordless brad nailer and brad nails)
- wood filler/sandpaper
- paintable caulk
- spackling paste
What is Board and Batten Wainscoting?
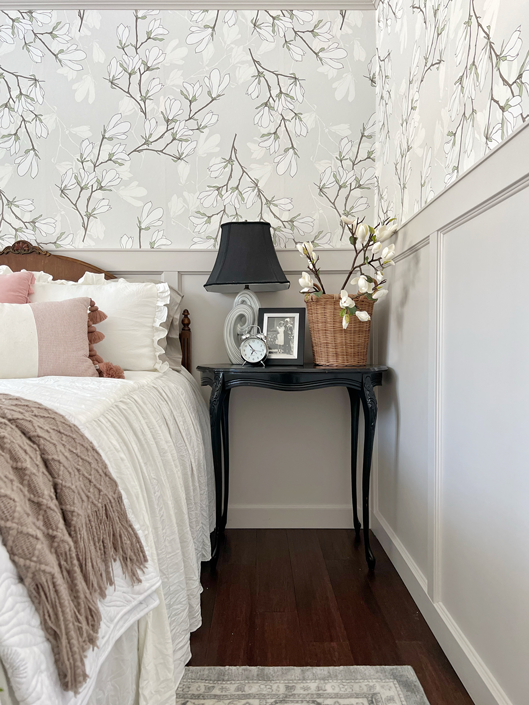
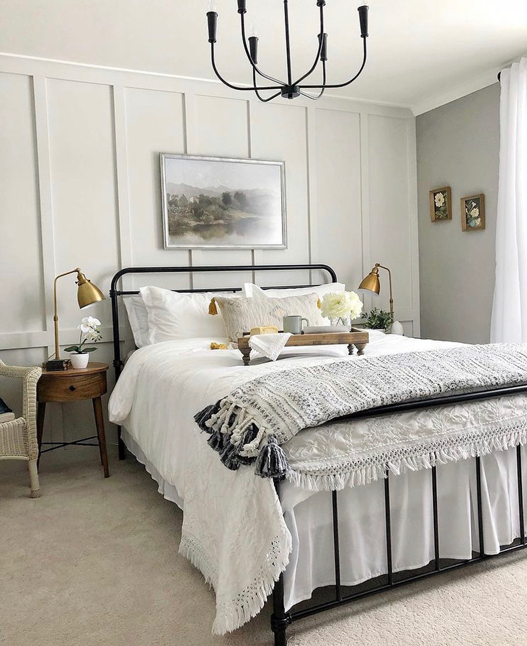
Wainscoting is decorative wood paneling that protects the lower walls from scuffs. Board and batten is only one style of wainscoting. Originally a practical solution to better insulate dampness, it has evolved into a decorative one.
In most cases, installing board and batten means assembling strips of wood or MDF into a pattern or design on a wall. Therefore, it’s an affordable way to add character, a focal point, and elevate a space with architectural detail. Not to mention, the wooden panels make any room look more polished.
Planning DIY Board and Batten Wainscotting
It is an essential first step to plan and measure since great planning limits overspending and other complications. For this reason, we started by cleaning the room out entirely and removing the existing baseboards. Next, we measured out the wall and decided how closely we wanted the battens to be together. Once we had our wall measurements, we used an online wainscoting layout calculator to help us layout the battens evenly across the space. This specific calculator is a valuable tool in helping to decide how many stiles of batten you want, where they should land, and how far apart you want them. Moreover, knowing what width of stiles you prefer for the batten is necessary too. In our case, we chose 2 1/2 in MDF board on most of our DIY board and batten wainscoting.
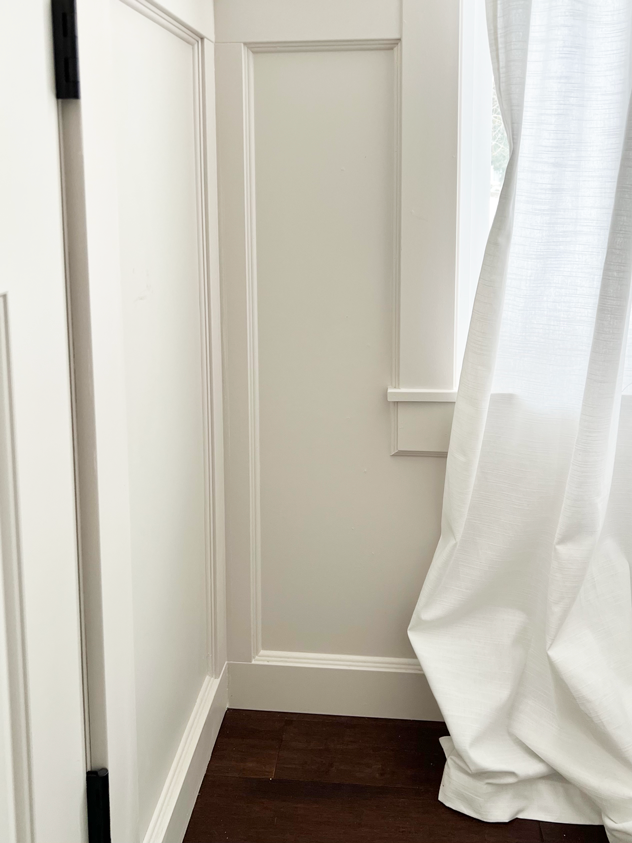
Textured Vs. Nontextured Walls
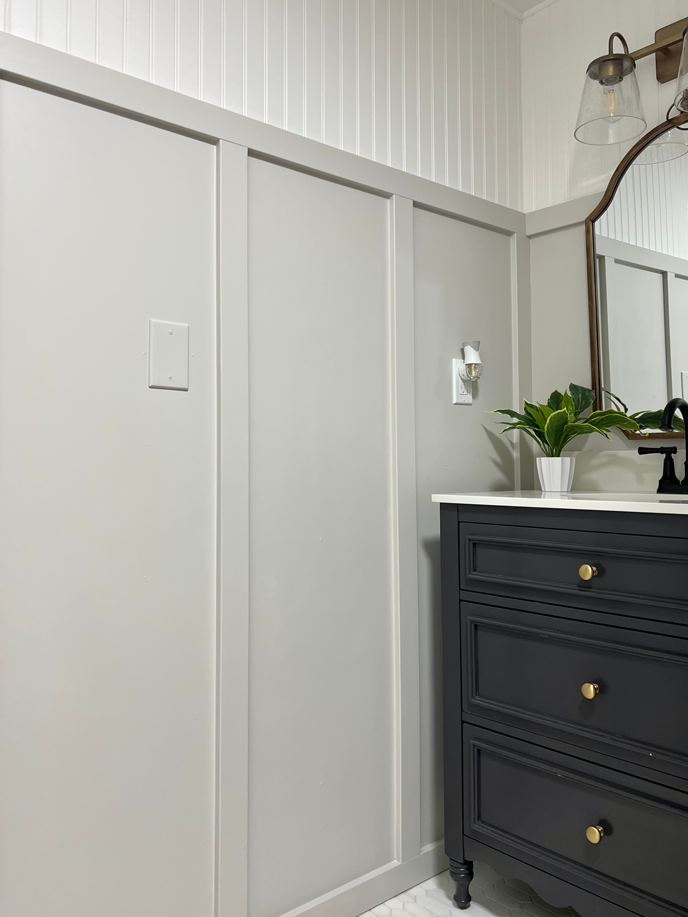
The purpose of the 1/8 in backer board sheets is to create a smooth finished look to the board and batten. Smooth-textured walls allow you to skip the board panels and add stiles with a simple addition of batten boards. Conversely, textured walls deny the sleek look. In our case, we added a backboard to cover the unsightly orange peel texture on our walls. The smooth paneling created a more polished and professional look. In the end, the choice is up to you. Prepare to cover any wall you don’t want to see the texture on in hardboard tempered panels.
Step 1: Measuring and Marking DIY Board and Batten Wainscoting
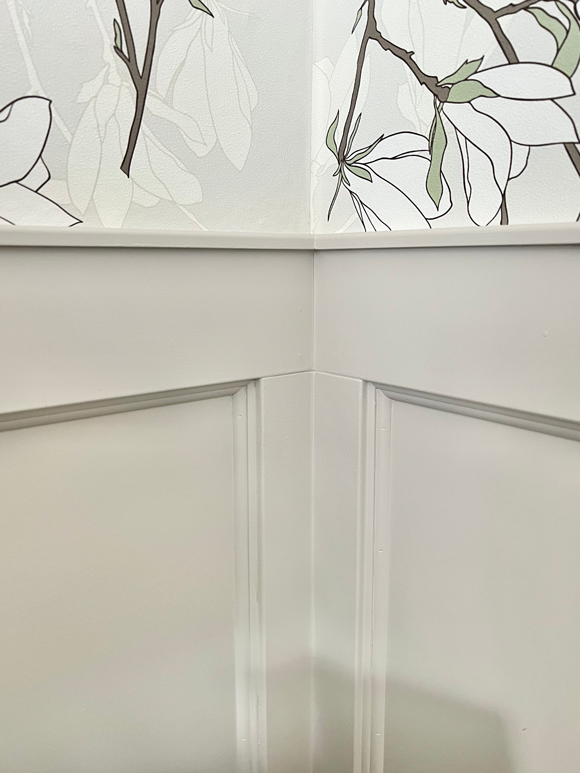
Once supplies were on standby, we started measuring out where they’d go. We only covered a partial wall when installing wainscotting. The first step is to decide how far the backing will go up the wall. A good rule of thumb is to find existing lines in the space and align them aesthetically. For example, our rooms have beautiful windowed architecture. The board and batten lines extend to (or under) the window frames, so they are cohesively laid together.
Next, we measured and marked where we wanted the trim layers to line up, which is usually around 4 inches of top molding to consider. Then, we added a level line to the wall where we wanted the top of the trim to land. Usually, floors and ceilings are unreliable sources for determining level lines, so we recommend a level or laser level.
Step 2: Board Paneling
Next, we locate and mark the wall studs (usually 16 inches apart). A stud finder is a helpful tool for this. With the studs marked, we attached panel boards to them using a nail gun and brads. At the same time, we paid close attention to where the paneling sheets butted up to each other. Applying board and batten to solid walls with no windows to cut around is the simplest way to install board and batten. However, our plans included windows, so we did have to measure and cut out spots for windows and outlets. The batten will cover the paneling seams, so we aligned them to land where we knew the stiles would fit. Finally, we like to primer the paneling a few times before adding stiles, since the board is dark and requires more coverage.
Step 3: Adding the Batten
The fun starts when it’s time to add the batten. To start, measure and mark for the stiles again. The first measurement was an estimate for supplies. This time, measuring ensures that the boards are evenly spaced and covers the seams created in the paneling. The online calculator is helpful here too.
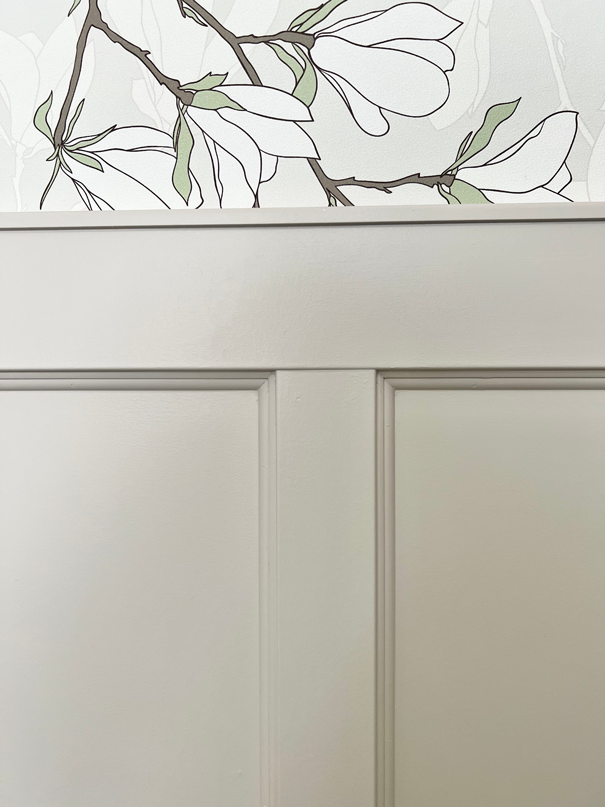
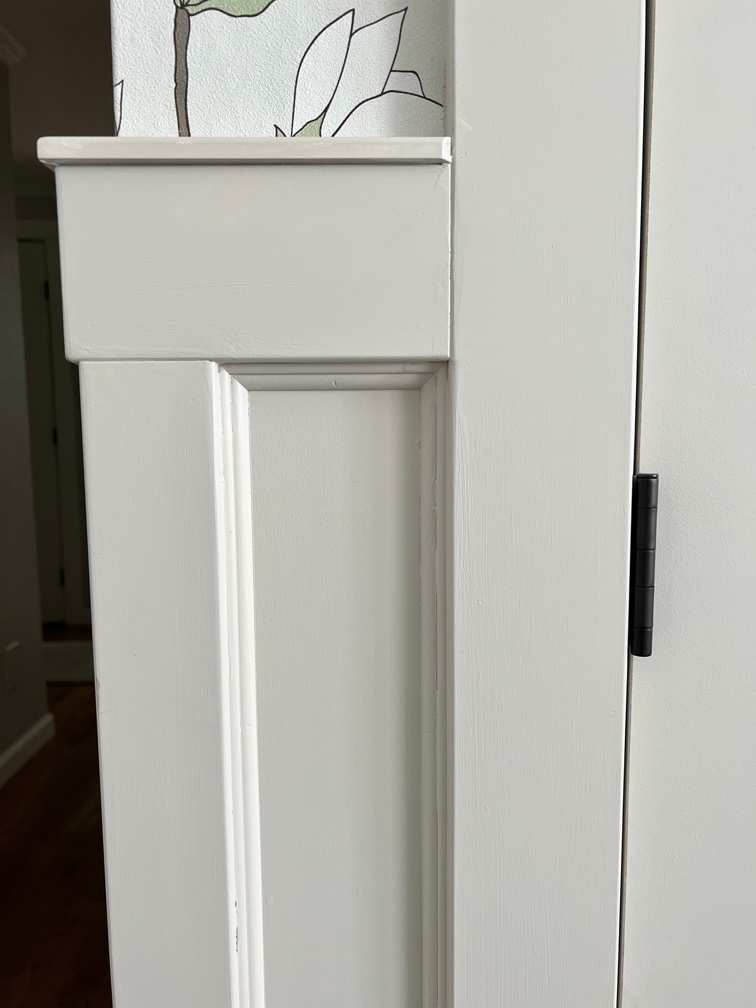
The beginning pieces to add are the horizontal top and bottom boards. We used 1X4 MDF primed boards (which matched the window trim) as we wanted a thicker board to add girth to the top and bottom. Therefore, we attached the top horizontal 1X4 using a level to the upper edge of the paneling. Likewise, we leveled and fastened the bottom piece resting on the flooring.
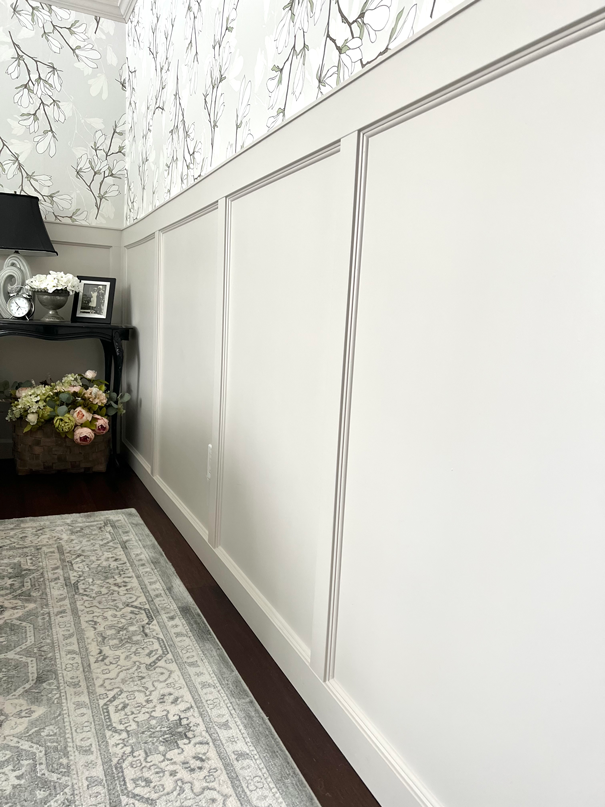
Board and Batten Stiles
Next, we measured the stiles to fit snuggly between the top and bottom boards. It would be nice if this step was simple and required measuring once and cutting all the batten at once. Unfortunately, each stile has to be measured individually to get a snug fit. A nail gun and brad nailer attach the stiles with nails long enough to secure a stronghold, and a level will ensure the board is straight.
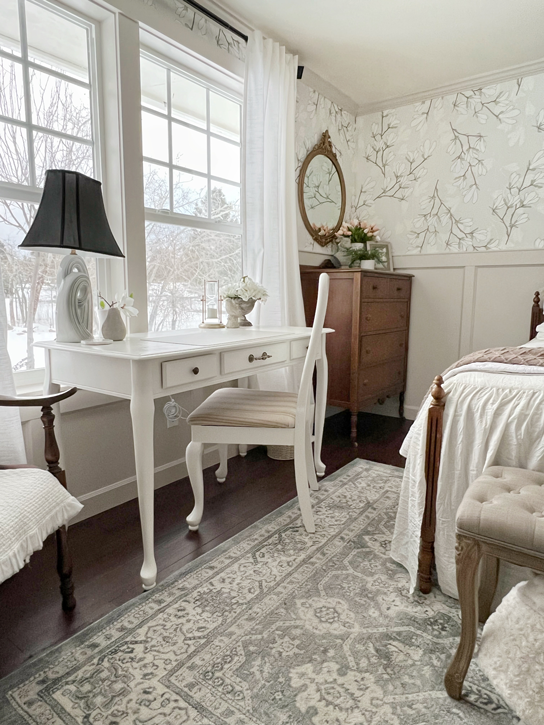
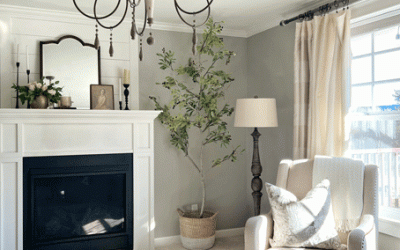
I love the extra detail in the board and batten in my formal and chic office space. In this example, we used a small ornate ornamental molding piece within the frame of each square. It turned out perfectly in the room that doubles as a guest room as it adds just enough architectural fancy to bring the French country style alive. Read more about this style and the rest of this room on my blog post: How to Decorate in French Country Design.
Step 4: Preparing to Paint
At this point, the wainscoting bears an unsightly look because nail holes and markings engulf any sign of beauty. The initial step to resolve the problem is to fill the nail holes. We used a spackling paste to fill the holes. The spackle pushes into the nail hole and dries hard. Then, we sand off the rough residual material for a smooth surface. Additionally, we use painter’s caulk for the seams between all that beautiful board detail. The caulk also sands off after it has dried.

Step 5: Painting the DIY Board and Batten Wainscoting
Finally, the time has come to paint. Painting a smooth finish requires a few strategies. To begin, we used high-quality, smooth-surface rollers and a leveling agent to get buttery finishes. To specify, a leveling agent goes into the paint and levels drying paint to a smooth finish. We also used quality brushes recommended for latex paint.
DIY Board and Batten Wainscoting
DIY board and batten wainscoting adds a timeless and traditional look to any space. Almost any color will look good with it, and it adds architectural interest so naturally. I hope this tutorial will help give you the confidence you need to go for it. Amazingly, all it takes is a little courage and a few tools. As always, thank you for stopping by. Please do not hesitate to ask questions or leave comments.
~Get behind the scenes of the blog by joining me on Pinterest and Instagram.~
*This post contains some affiliate links for your convenience. I make a tiny portion of the sale with no additional cost to you whatsoever. Click here to read my full disclosure policy. Thank you for supporting this blog.*
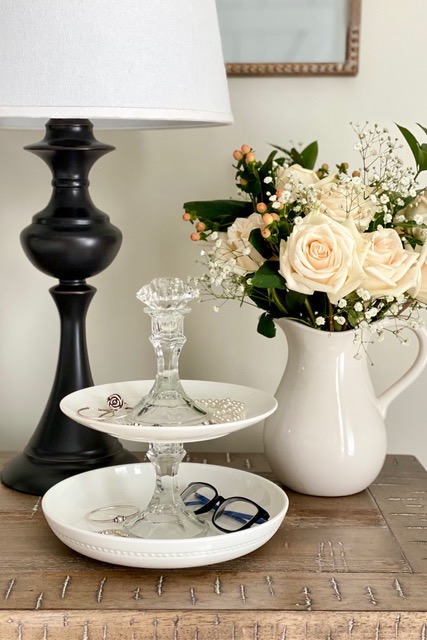
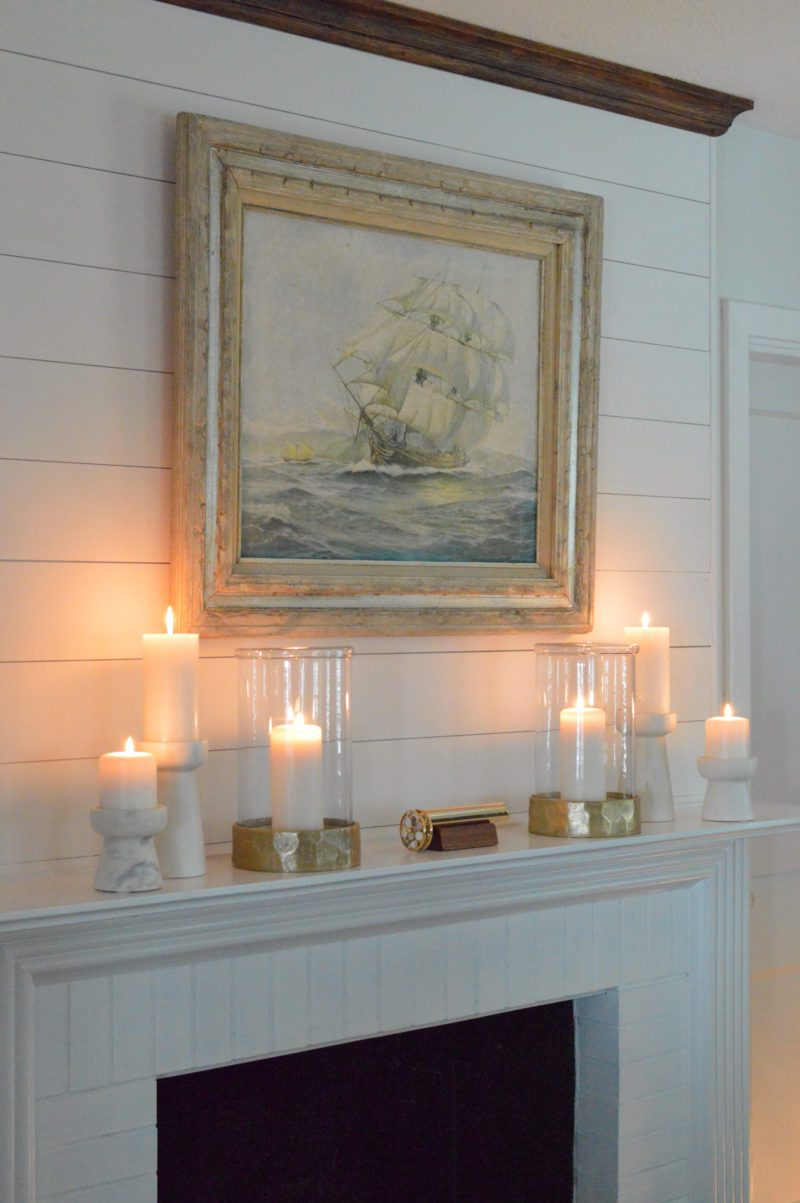
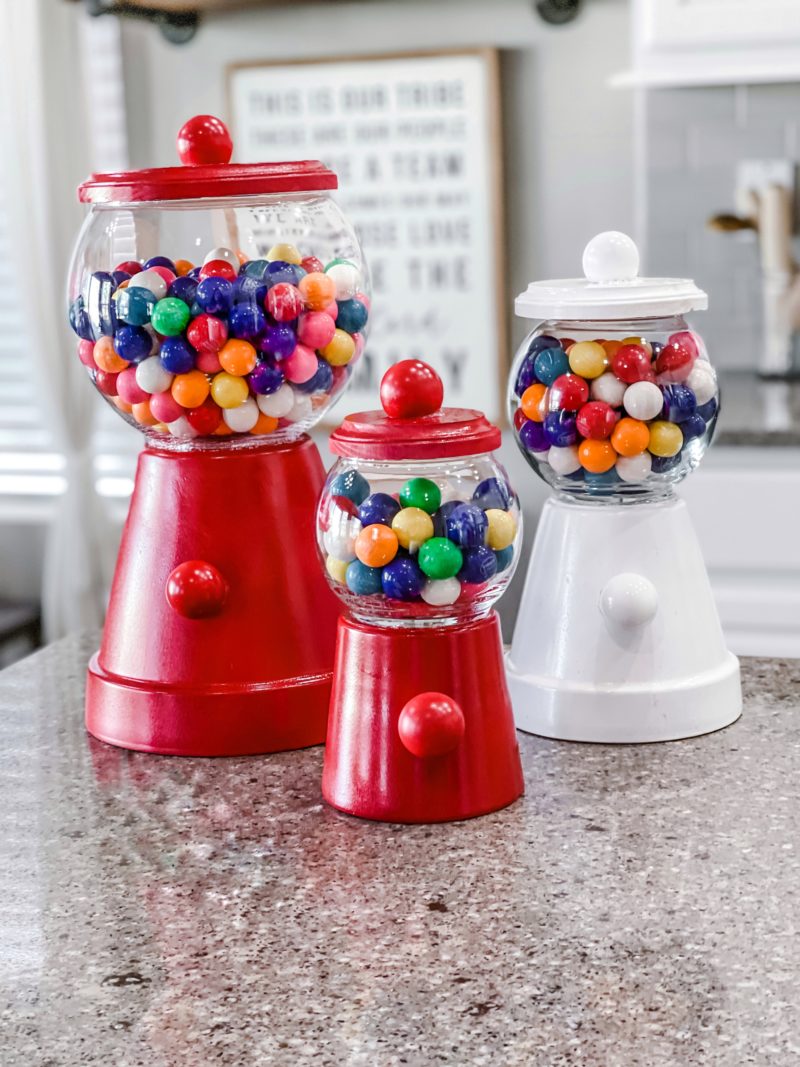
More DIY Inspiration from DIY Inspire Collective

Just click on the links below the photos, and pop around to visit the girls and check out their projects!


Tammy, it all looks so beautiful! I would love to stall some in the farmhouse. I will definitely refer back to this post if /when I do!
*install 🙂
Thank you, Meeghan. I appreciate your kindness. Be careful. Once you get started, you may become addicted to the transformations.
Absolutely gorgeous! I would love it if you would share this on The Fabulous Friday Link Party this Friday. https://www.peacockridgefarm.com/category/fabulous-friday-link-party/
Hugs to you.
Thank you, Renae. You are so kind. I’d be honored to be included. Thank you!
Be sure to let me know if you need anything from me.
I so want to try this soon! It’s beautiful !!
Thank you, Kelly! You’d be amazing at it!
Thank you for this amazing tutorial! Someday I would love to add board and batten to my home!
Thank you, Tiffany. I appreciate your kind words. I hope you’ll try it someday. We love ours.
Alllll your wall treatments are sublime.
I love your rooms, from the walls in 😉
Beautiful my friend!!
Thank you, Shannon! You are too kind. I appreciate it.