Easy DIY Fall Wreath
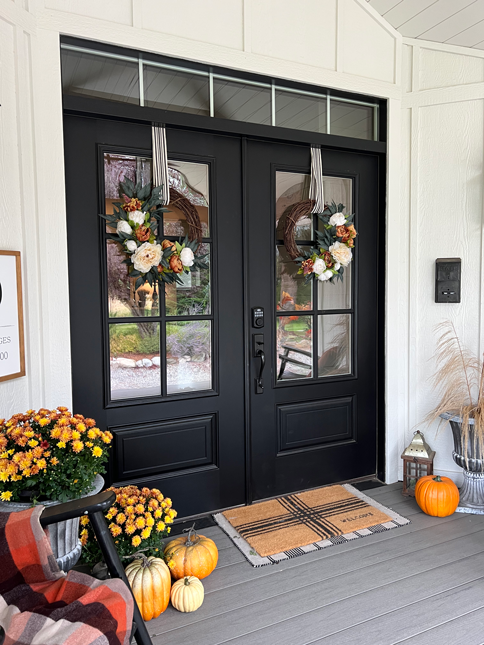
You won’t believe how simple and affordable it can be to create this Easy DIY Fall Wreath. I almost can’t believe it myself, but it only took me an hour, and the outcome has me smitten with it. The florals are easy to find; the only tools you need are a pair of wire cutters and a hot glue gun. It is so rewarding to easily create this designer-level, high-end wreath for a fraction of the price. You absolutely must try it!
Decorating with Wreaths
Decorating your home for fall is one of many joys of the season, along with changing leaves, cool breezes, and everything pumpkin spice. In addition to pumpkins and gourds, fall wreaths are warm and lively additions. Namely, wreaths help us celebrate all seasons, but the variety of wreath options in autumn is always the most fun.
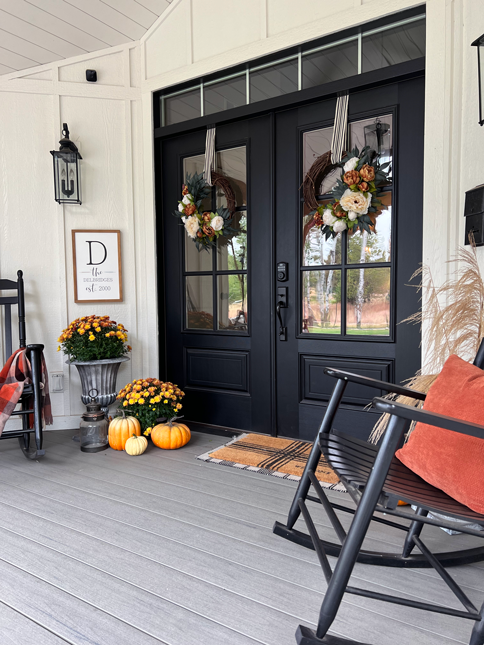
While one of the best places to hang fall wreaths continues to be the front door, most of us think beyond our front entry and find creative ways to display wreaths throughout our homes. Instead of limiting the display of a fall wreath to the front door, consider the idea of showing it inside so you can enjoy its colors and textures all season long.
Gathering the Goods
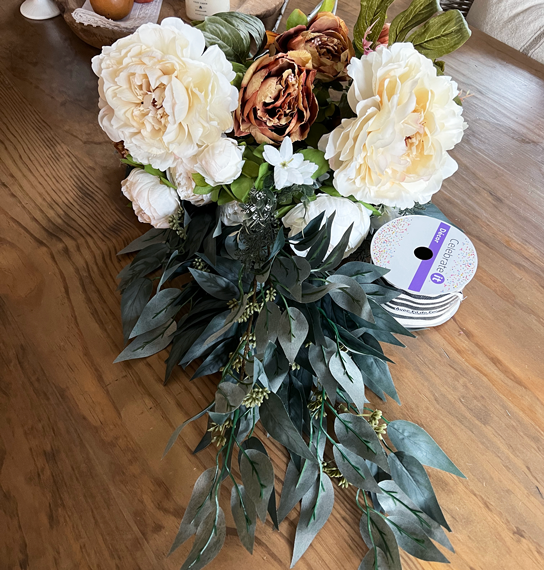
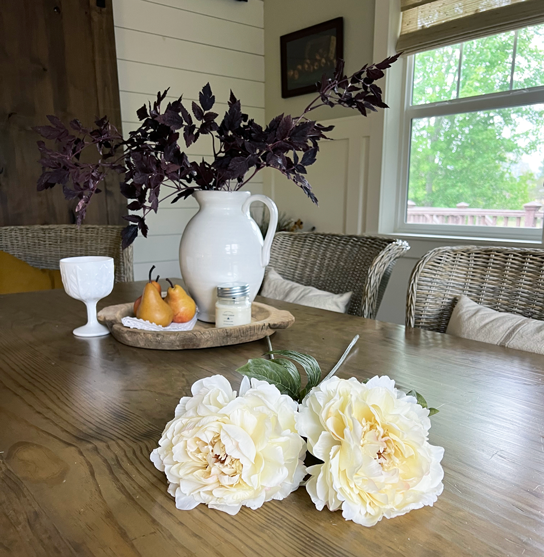
The first step in making your fall wreath is to gather all the floral goods. I chose to go with warm coffee-colored peachy orange peonies and white peonies in this wreath. It doesn’t matter to me that peonies aren’t autumn flowers since I love their look all year round. As a backdrop, I chose soft-toned dark green eucalyptus stems. While I found the peonies in pre-made bouquets on Amazon, the seeded eucalyptus stems came from my local Michaels craft store. I also found the 14″ grapevine wreath I used as a base at Michael’s. I measured the door in advance to be sure of the size.
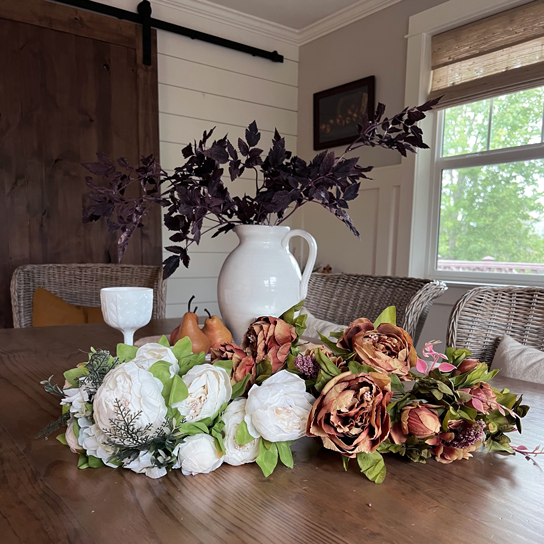
Here is a list of the supplies:
14″ grapevine wreath
(two if you have double front doors like mine)
Florals or your choice
(I used one bouquet of white peonies, one bouquet of soft orange-toned coffee peony, and four seeded eucalyptus stems)
One dramatic center flower
(I used a large cream peony)
Glue gun and glue
Wire cutters
Ribbon
Getting Started
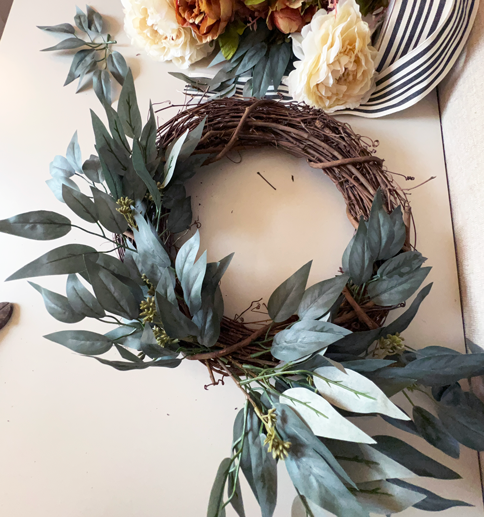
Once you’ve gathered your supplies for making a wreath, it’s time to prepare the materials. First, use the wire cutters to snip the eucalyptus stems into parts. Meanwhile, heat the hot glue gun. Arrange your eucalyptus stems around the grapevine in whatever fashion suits you. In this inspiration, I only covered two-thirds of the grapevine. Nevertheless, I wanted an overfull look, so I made sure to lay out the greenery stems in the most entire arrangement I could stuff.
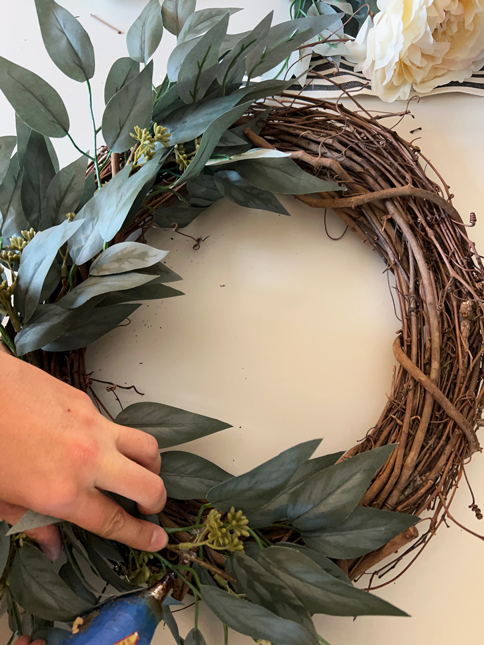
Once I had the layout complete, I removed the stems and began to stick them back in, gluing them as I went. It’s essential to pay attention to the direction the leaves are pointing when gluing. The wreath will look best with a focal point, so leaves must be positioned in support. Half of the leaves point down the wreath, while the other half goes upward. Finally, I located the center of the eucalyptus stem base and laid the foundation for my focal point flower. At this point, I removed the leaves that came with my large cream peony and glued it to that spot.
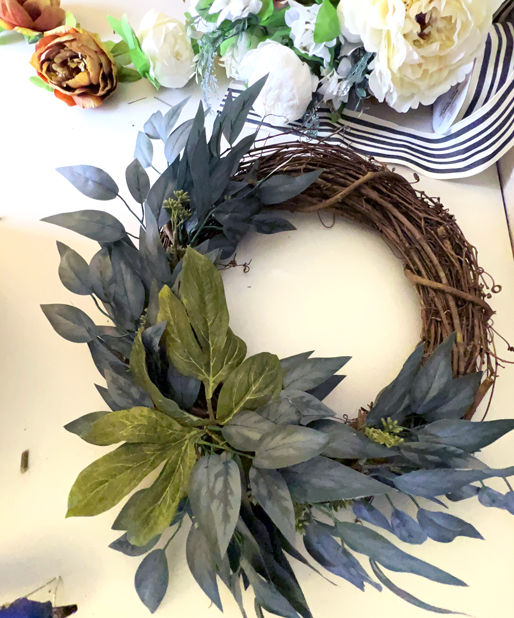
Adding the Florals
My favorite part of this wreath is the flowers. I have a love affair with peonies, so the tones for fall had me giddy over this project. It’s something about their big delicate petals that gets me every time. They also seem one of the best regarding how real they can look as faux. When I found the soft coffee-colored peachy orange flowers, I knew they needed to find their way to my black doors in the form of a couple of wreaths.
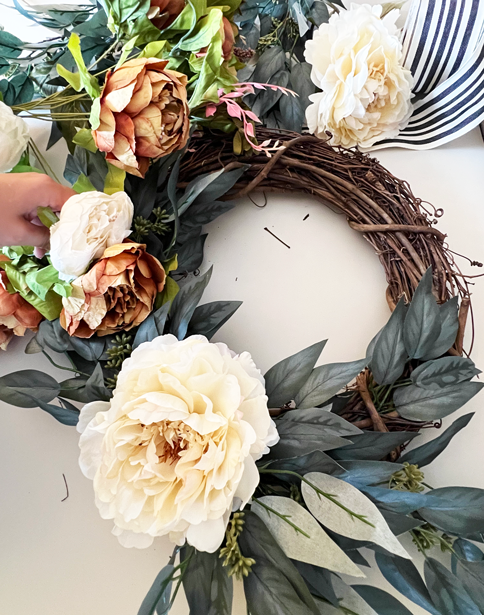
Adding contrast was easy with the creamy white peonies, so I knew I had a great combination of color and contrast. Still, the wreath was missing its focal point. Everything needs a focal point. It’s what draws your eye in and creates a pleasing look. Believe it or not, cream and white are complementary when done in the right undertones.
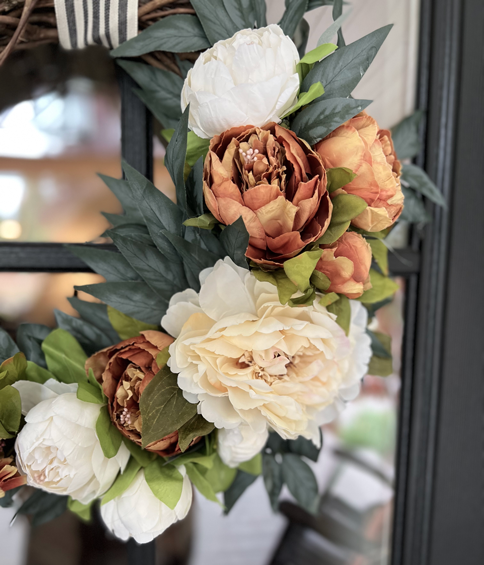
For this reason, I added the creamy white peony (with no harsh yellow undertones) as my focal point. If you’re ever nervous about tones reading well together, arrange them and look at them before a project. Taking time to see them together before they’re permanently cut and attached will ensure a well-loved outcome.
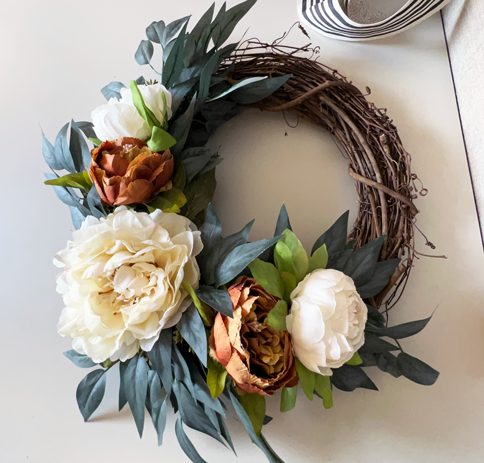
DIY Fall Peony Wreath Aesthetics
After centering the focal flower, the rest of the florals will arrange nicely around it. To achieve good contrast, I lined the peonies in alternating colors. However, I do not want a straight line of the flowers, so it’s a good thing bouquet I used had smaller buds included. Adding them will help soften the look. While creating a symmetrical look is pleasing to the eye, too much of a straight line takes out a natural feeling making the wreath read as fake. We’re going for an authentic look by alternating colors in a way that looks mixed, not planned. Moreover, we’ll add an abundance of flowers to help them read as a full bouquet of naturally hanging flowers on a wreath.
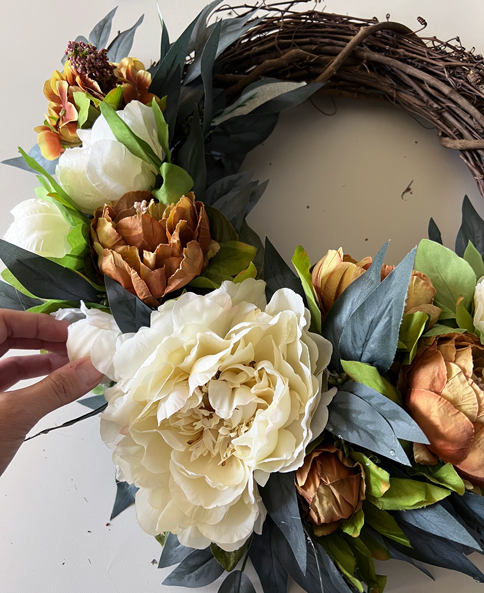
With every new addition, add an abundance of hot glue.
Final Touches
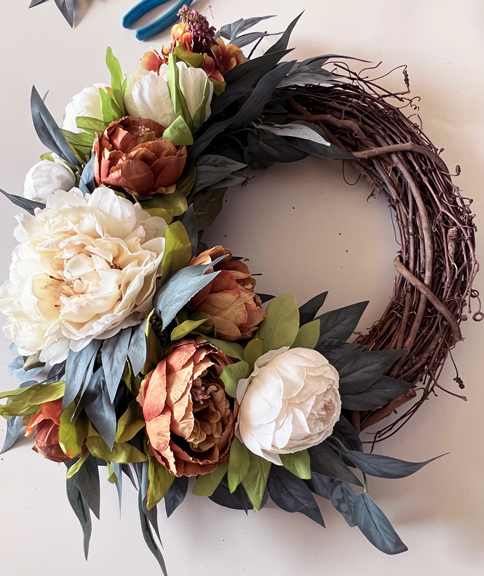
After adding all the flowers, it’s good to step back from the wreath multiple times to check its overall look. In other words, this is the time to add, fluff, tuck, and secure the final wreath details. Specifically, look for bare spots and make sure to fill those holes. As it turned out, the supplies for this wreath worked out precisely. I got a nice full floral look with no leftovers.
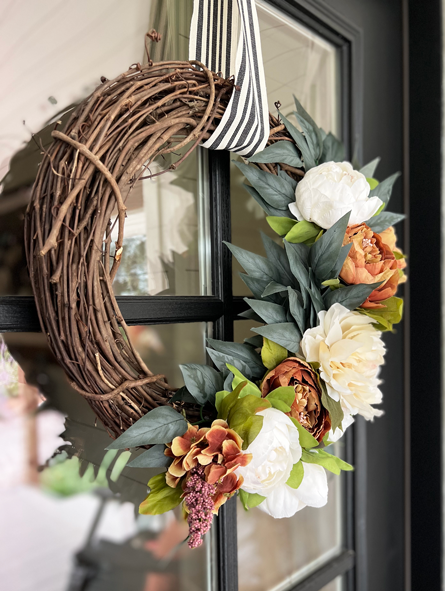
The final step is to add a ribbon. Of course, this is an optional addition, but I love the look of the black striped ribbon against the orange and white colors. I think it added some pretty charm.

Hanging Tip
While I know you can figure out how to hang a wreath, sometimes new ideas are enlightening. I learned this one a few years back, so why not share it? Wreaths hung with ribbons are easy to hang without anything other than the ribbon and a good staple gun. Wrap the ribbon around the wreath, pretty side out. Then, hold it from the top of the door until the wreath sits where you want it. Leave a little extra ribbon. Next, cut the ribbon to the informally measured spot. Finally, attach the ribbon to the top of the door with a staple gun. The door should close over it. Cut any excess ribbon off.
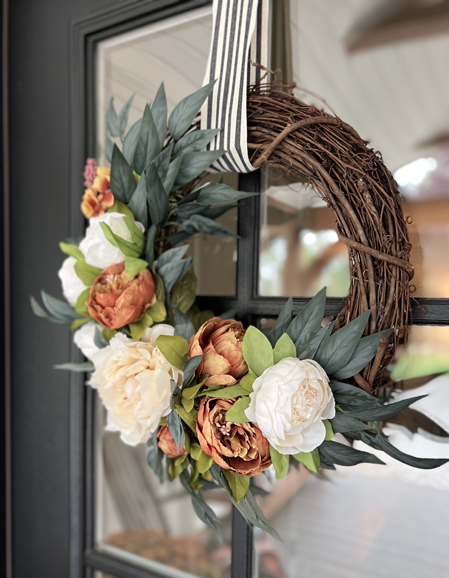
Easy DIY Fall Wreath
Over the years, wreaths have become a hallmark of classic holiday décor, symbolizing victory and celebration. No matter what the occasion, they are meant to be enjoyed. The passing of the seasons is a great time to embrace seasonal joy and celebrate it by charming our homes with its ambiance. With this in mind, I hope you have gained plenty of ideas for your wreath-making journey from these tips and tricks. I wish you success in building and designing this Easy DIY Fall Wreath for your home. As always, thank you for stopping by and supporting this blog.
~Get behind the scenes of the blog by joining me on Pinterest and Instagram.~
*This post contains some affiliate links for your convenience. I make a tiny portion of the sale with no additional cost. Click here to read my full disclosure policy. Thank you for supporting this blog.*


This is absolutely beautiful!
Thank you so much! I appreciate the kind words.