

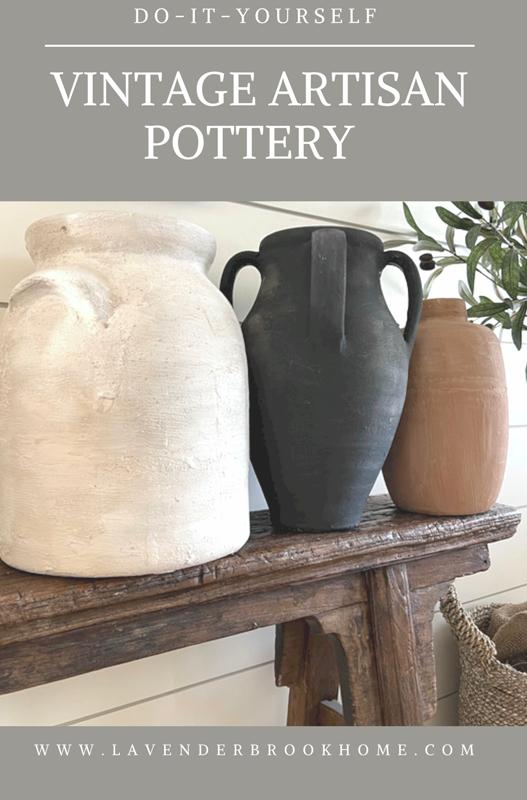
How to Create Vintage Artisan Pottery
Use these simple DIY tips to create DIY vintage artisan pottery for a fraction of the retail price. Surprisingly, the best part is this DIY uses thrift pottery. That’s right! We’re turning dated junk store pottery into old-world style classics that will rival any Pottery Barn statement piece.
Join me and some amazing ladies from the DIY Inspire Collective as we share our favorite DIY projects monthly. We’re off to a great start with this first one! Enjoy my tips to create DIY vintage artisan pottery, and then scroll down to see four more stunning DIY projects linked for easy clicking. You’ll love these girls and their incredible ideas.

Pottery is on-trend and will always be on-trend. The artistic and shapely pieces are works of art. Pottery and vases have been used over the years to hold plants and stems and also sit alone as statement pieces. The earthy and organic colors and textures of pottery bring natural beauty to our homes. No wonder people will pay high prices to collect it. Those who crave changes in decor as often as I do may find the price too high. Fortunately, there is a simple solution. I have a hack that produces a similar look for less.
Earthenware or Stoneware
Authentic earthenware and stoneware pieces decorate my home because I love their earthy, classic look and feel. Each piece has unique artistry and charm I adore. Earthenware is delicate and brittle with a porous and chalky surface. Made from clay, it reflects the colors of the soil. In contrast, stoneware is an earthy and chippy type of pottery. It’s more dense and durable. Both have uniquely charming appearances. For this reason, I continue to buy affordable pieces when I find them. When I cannot afford to buy, time to find a way to DIY.

Materials:
- thrift pottery (of interesting shapes and sizes)
- baking soda
- paint
- paintbrush
Optional Materials:
- chalk
- sandpaper (150 grit)
- chalk paint spray
- chalk paint
- matte clear coat spray
Choosing Thrift Store Vases
To start the journey of DIY-aged pottery, look for nicely shaped subjects. Specifically, search out pieces that have an old-world feel. My favorite finds, for instance, are jugs, pottery with handles, and pieces with different shaped bodies.


Thrifted to DIY Vintage Artisan Pottery
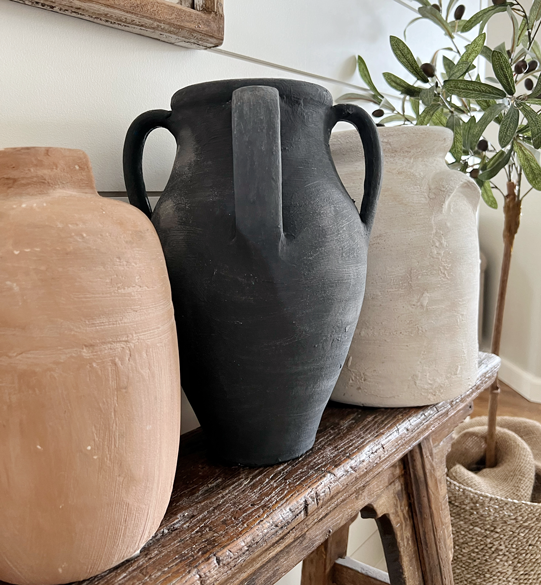
The first step in creating artisan pottery is covering up the dated color and patterns on the junked vessels. Strangely, it is surprisingly simple to do so. All it takes is baking soda and paint. In past projects, I’ve used chalk paint, house paint, and craft paint in this process. They produce similar looks. Chalk paint gives slightly less sheen in the result. Before I begin, I pick paint colors for the base colors I desire. For example, to paint the pottery black, I used black base paint.
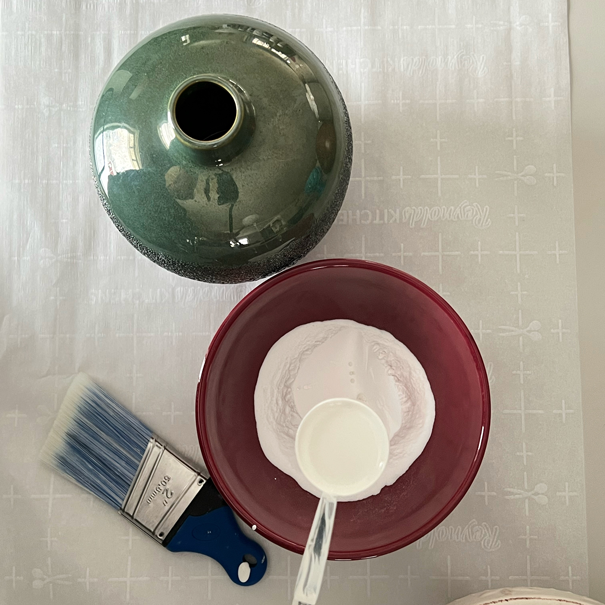
Then, I mixed baking soda with the paint until I got the desired thickness. A thick mixture creates more texture. In other words, adding more paint to the mixture will produce less texture while more baking soda will produce more texture.
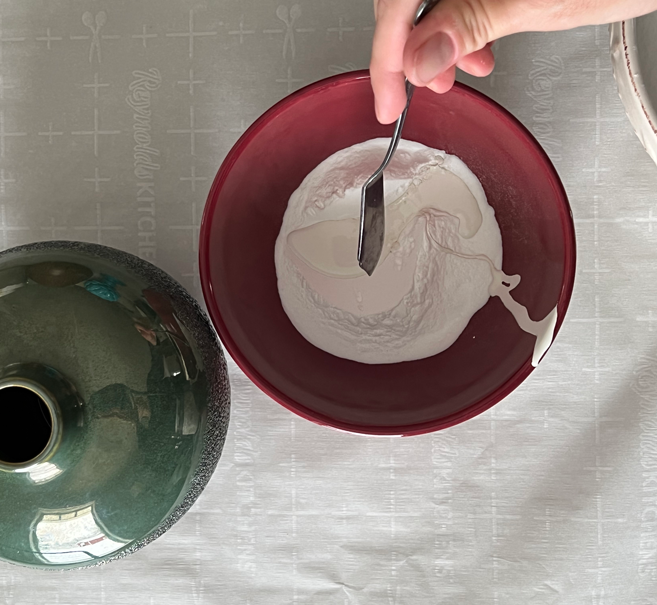
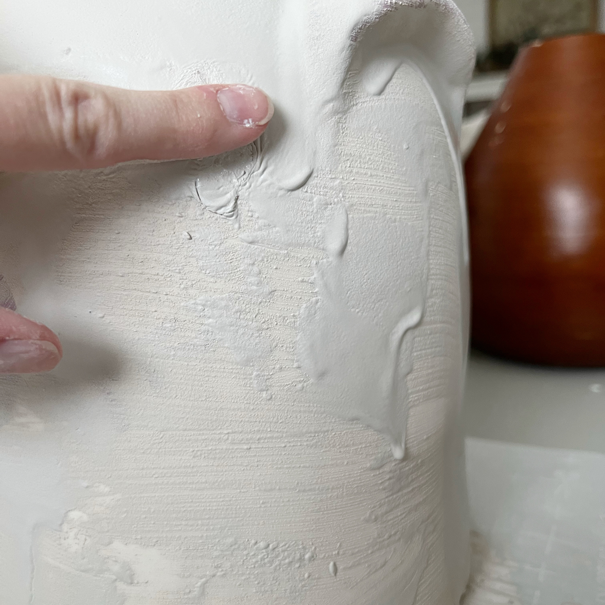
Application
After the paint and baking soda are mixed, the mixture is applied with a paintbrush. In this case, I used an old brush I had on hand for painting walls. I slathered the concoction onto the vase. As I worked, I let myself get creative with how the texture lines went on. Sometimes the paintbrush worked vertically up and down the base. Other times, moving with horizontal strokes looked best. In some cases, I dabbed the brush to leave rough spots. As can be seen, I even used my fingers to dab a few run marks into vintage perfection.
This mixture adheres remarkably well without primer. Once I allow the thick coating to dry completely, I add another coat or begin steps to make it look old. The decision regarding how many layers to add is dependent on how much distressing I think I might do later. Comparatively, thicker layers allow for more distressing.
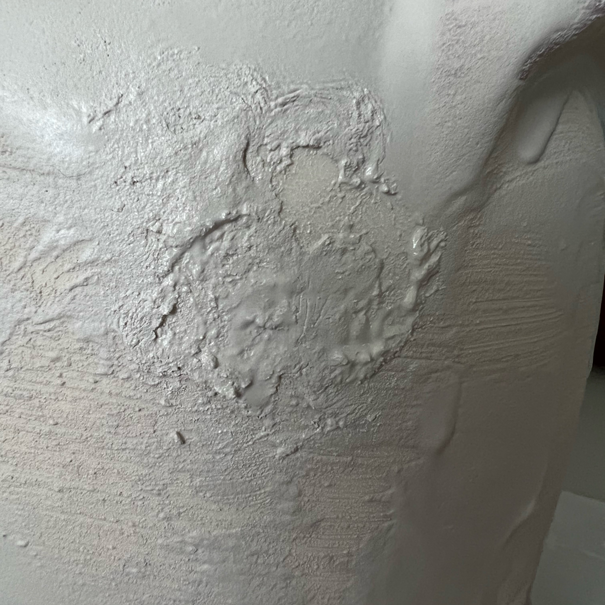
Now, the pottery has all the texture of artisan pottery and could potentially be left alone. However, vintage pottery has layers and layers of patina to show off. The coming steps will show how to create a few different styles of aged vases.
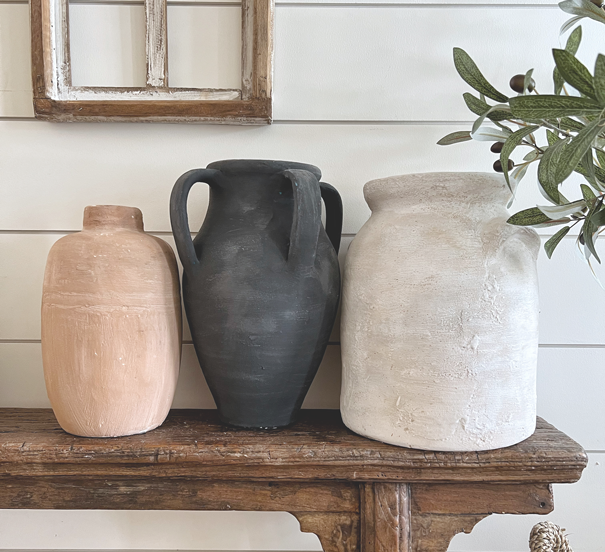
DIY Vintage Artisan Pottery
Stoneware
My family gifted me a beautiful artisan jug vase for Christmas. Although the piece is not vintage, it still has a stunning faux patina. Therefore, I decided to replicate the color as closely as possible since its neutrality suits my style. Accordingly, I used white paint with a beige undertone for the base. 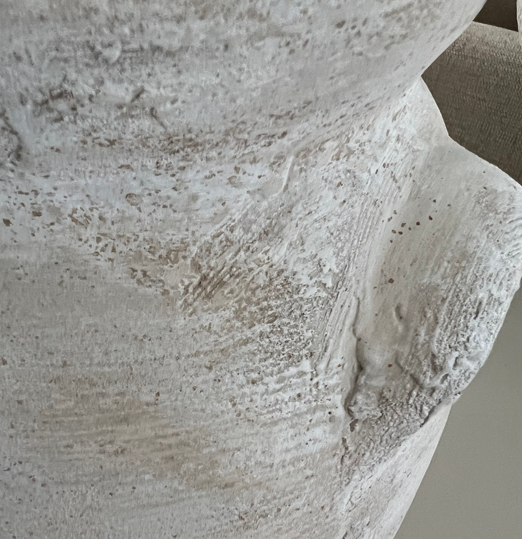
Then, I used a dry brush painting technique to add layers of color. This technique is easy to do. To start, I took a paintbrush with stiff bristles and dabbed it in the paint. Next, I used a cloth to wipe off the paint. It might seem counterproductive, but the idea is to remove the moisture leaving the brush with pigment and very little liquid. Finally, I brushed the dry paint over the surface of the vase. In addition, I pushed color into the crevices using this strategy. In short, the dry paint only added pigment to the crevices or the surface texture. The technique created a worn and vintage patina as each layer of dry brushed paint adds depth to the appearance. I used grays, beiges, and browns for this technique.

The Details
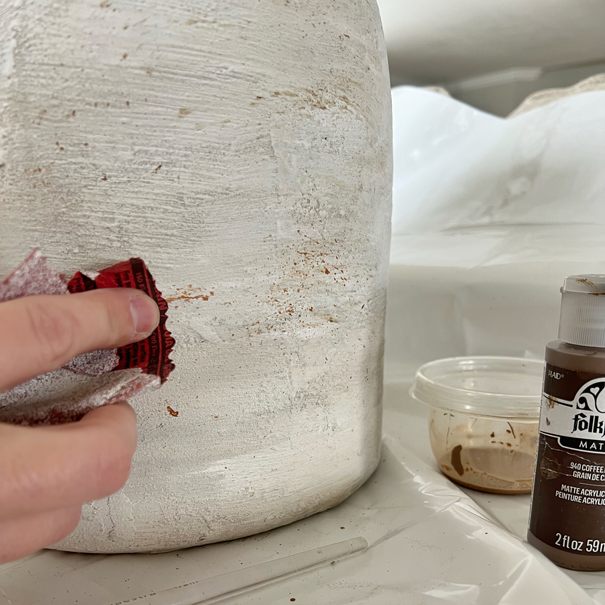
In the same way, splatter marks are a great way to add age to pottery. Thus, I used a small brush and watered down a few colors of brown paint. Then, I pulled back the bristles with my finger and released tiny paint droplets onto the pottery. As a result, paint splattered in various directions and spots on the pottery. The marks furthered the dimension of the vintage look.
Finally, I lightly sanded the whole piece to soften and wear the painted patina.
DIY Vintage Artisan Pottery
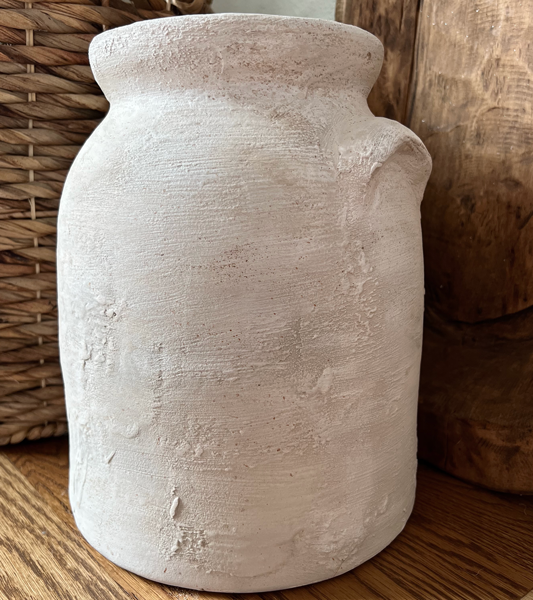
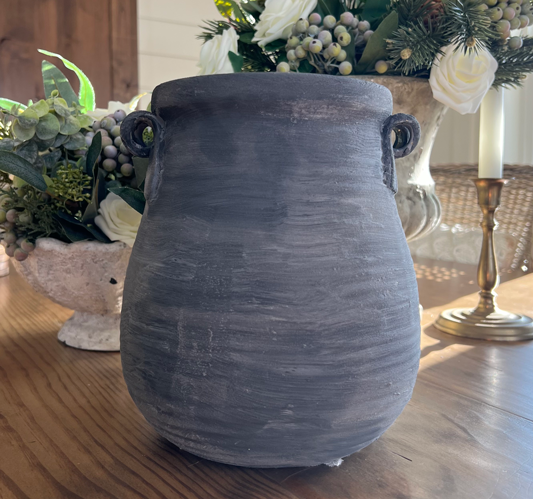
Earthenware
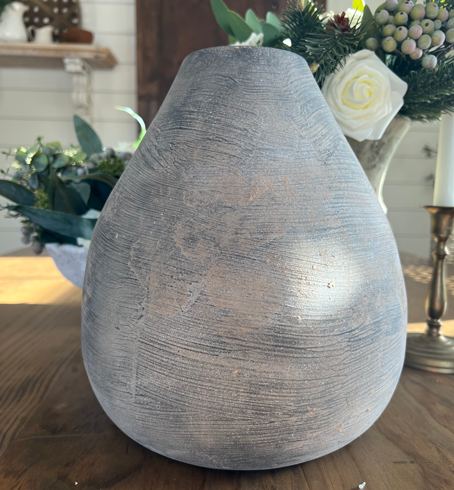
The next type of pottery I attempted to mimic was earthenware. Mimicking the piece I already had, I went for a dark black or brown color with a chalky neutral finish.
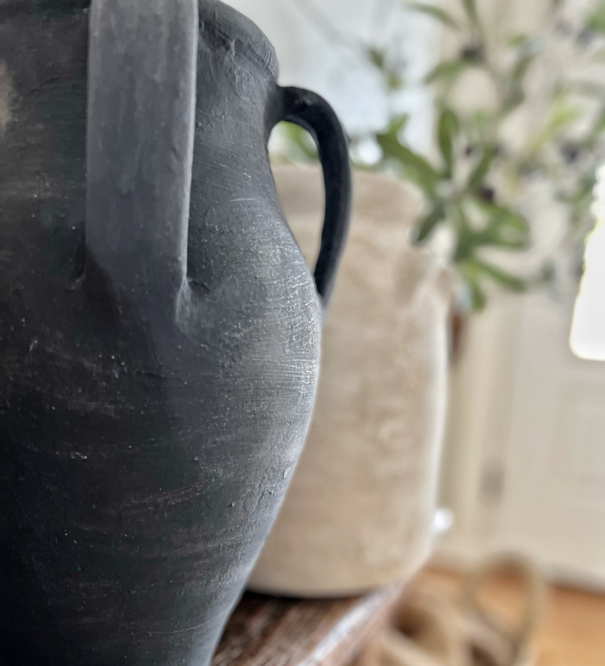
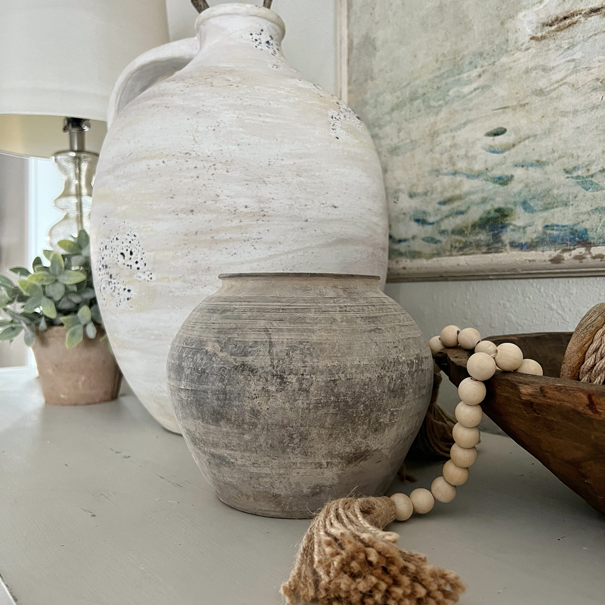
The first piece of DIY earthenware had the most dramatic shape, as you can see in the picture. The handles deliver bunches of character, so I knew I didn’t need to add much. Therefore, I sanded the piece until I achieved a deeper chalky finish and variation in color. It was simple and turned out so good.
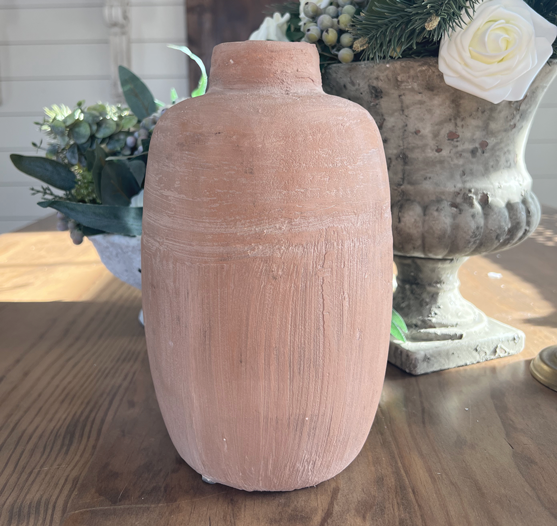
Round II
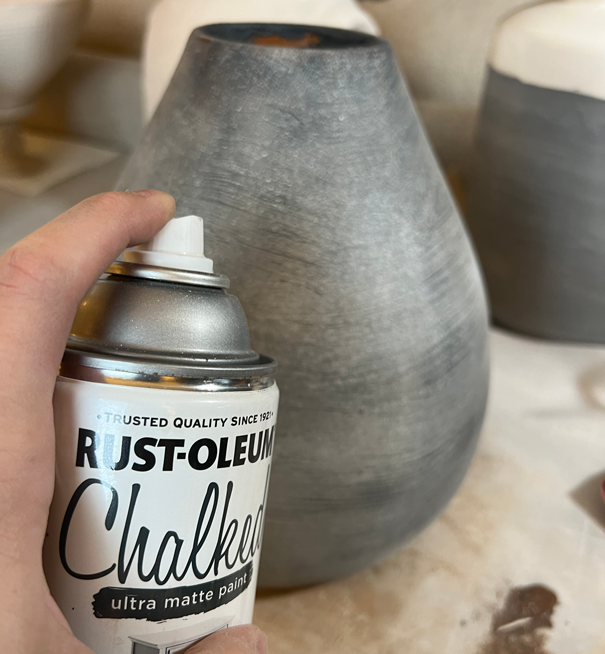
As easy as the first piece was, the next piece made up for it. I had to pull out all the strategies on this one. To begin, I sanded as I had with the previous project. Without the pretty handles, it looked so bland. For this, I used soft artists’ pastels in earthen tones like brown and an almost white tan. I marked the vase in horizontal motions around the vase. A few vertical lines went in to add variety. Finally, I rubbed it in with a soft cloth and sanded areas that looked too harsh. I kept doing this until I came to an appearance I liked. Having done this on a terracotta-colored piece, I knew it worked well. 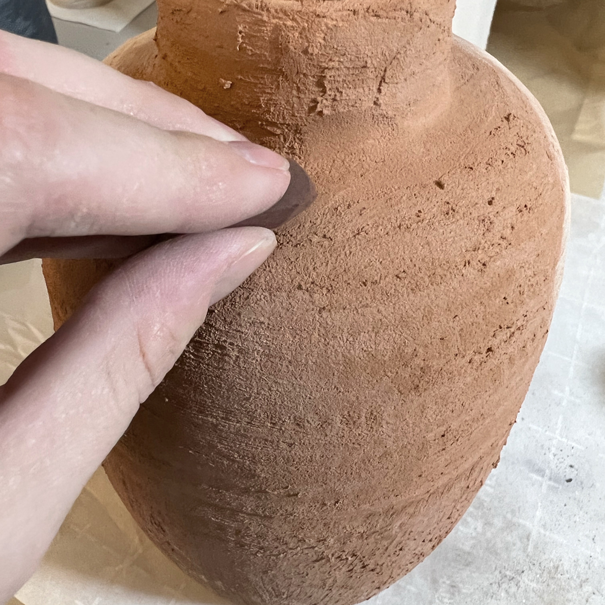
After adding layers and layers of chalk color, I stood back and decided it needed brightening. Consequently, I found a can of chalk paint spray I had leftover from another project. Chalk paint spray has a chalky sheen, so it was perfect. Carefully, I sprayed it on in small sections. Again, I went over it with sandpaper to soften the spray appearance.
When I compared my product to the earthen vase, I could see I hadn’t quite accomplished the depth of the look. I had a whole pile of dust at the base of the vase from all the sanding I’d done. I pushed my hand down in it and started rubbing it on the vase. Thus, it created the chalky appearance I wanted. Finally, I finished it off with a clear matte spray to set the chalky finish in place.
DIY Vintage Artisan Pottery
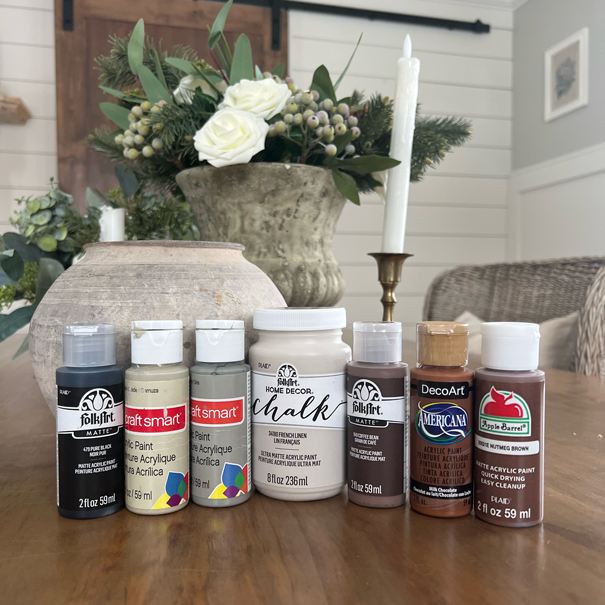
Paint Colors
Color choice for projects like these comes down to preference. My choices included very neutral grays, browns, and blacks. In particular, a terra-cotta tone called milk chocolate was as off the neutral pallet as I could move. I have pictured them here in case you’re seeking a similar look. Not pictured is a black chalk paint that I threw in after the picture. Nonetheless, it turned out to be a favorite.
DIY Vintage Artisan Pottery
All in all, I am very pleased with how my DIY vintage artisan pottery turned out. I have seen really pretty dupe versions with mud adhered to them. As much as I love the look of that pottery, it’s a bit too dingy for my decor. Never say never though, my friends. I’ll conclude by noting that a good play day in the mud with some pottery might be in my future.
Here’s hoping this DIY Vintage Artisan Pottery tutorial helps you add pottery with character to your decor. Happy creating, my friends. As always, thank you for stopping by. Please do not hesitate to ask questions or leave comments.
Don’t forget to head to the bottom of this post for more do-it-yourself inspiration from the DIY Inspire Collective.

~Get behind the scenes of the blog by joining me on Pinterest and Instagram.~
*This post contains some affiliate links for your convenience. I make a tiny portion of the sale with no additional cost to you whatsoever. Click here to read my full disclosure policy. Thank you for supporting this blog.*
DIY Inspire Collective

Just click on the links below the photos, and pop around to visit the girls and check out their projects!
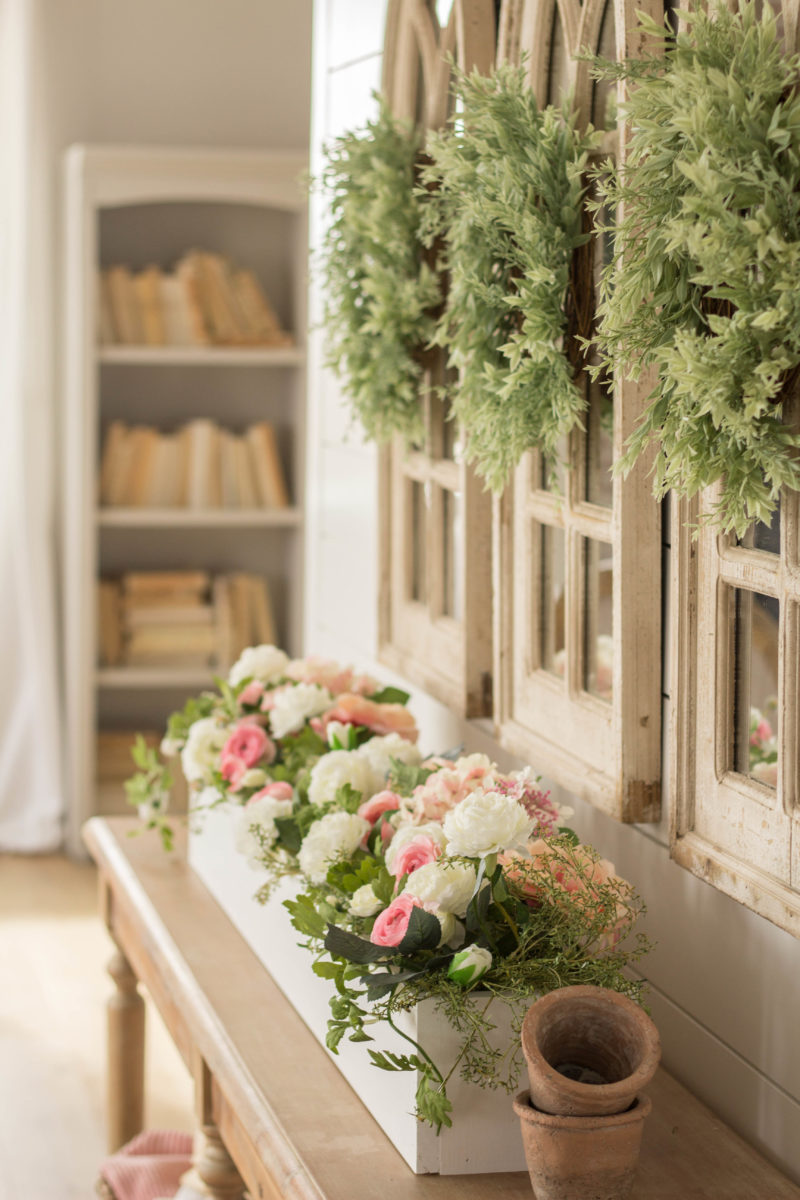
DIY WOOD PLANTER BOX CENTERPIECE

DIY MERCURY GLASS CANDLEHOLDERS

HOW TO STRIP AND REUPHOLSTER A WOOD DINING CHAIR
Tammy, this pottery is beautiful! You make it look so easy! I can’t wait to try making my own. On my way to Goodwill!
Thank you, Meeghan! They are so fun. I’m so glad you’re inspired. Every time I do it I want to try a new way of aging them. Happy hunting!
I am so amazed by you! I love it!!
Thank you, Kelly. I appreciate your kindness.
Your pottery looks amazing!!!!
You did such a killer job making over your thrift store finds, and they look like a million bucks now.
So beautifully styled, and so pretty in your home.
Thank you, Shannon! I appreciate the kindness so much!