

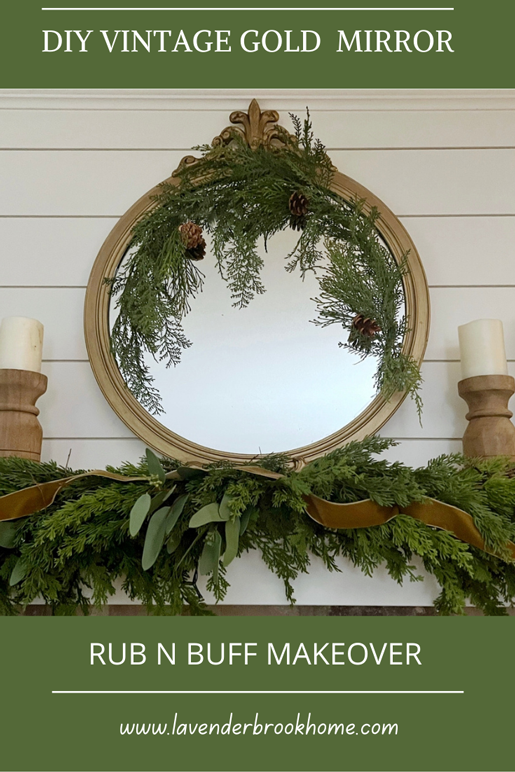
Rub’ N Buff Antique Gold Mirror Makeover Guide
Have you ever come across a product that you wished you’d known about all along? For me, the product is Rub’ N Buff. Rub’ N Buff is a unique little tube of pasty wax that refines metals, woods, glass, and plastics from drab to gilded. It is quick, easy, and durable. What’s not to love? I’m using it all over the house since discovering this little miracle tube of gilded glory. Let’s DIY an antique gold mirror makeover in two easy steps.
What is Rub’N Buff?
What is Rub’ N Buff? Is it mysterious magic? Well, yes, but let’s remove some of the mystery.
Rub’ N Buff is a waxy paste made of carnauba wax, metallic powders, and color pigment. That fact makes it one of the most durable and resistant natural waxes. It comes in a tiny tube since a small amount covers a lot. Rub’ N Buff promises permanent coverage and is available at craft and hobby stores. It requires no primer before using and is effective on various surfaces.
Here is a list of surface types it works on:
- plastic
- glass
- ceramic
- painted surfaces
- wood
It also comes in a nice variety of colors. These colors are especially desirable for a gilded or distressed vintage look.
Here are the colors Rub’ N Buff comes in:
- European Gold
- Grecian Gold
- Antique Gold
- Gold Leaf
- Autumn gold
- Pewter
- Silver leaf
- Patina
- Ebony
- Spanish Copper
- Ruby
DIY Rub’ N Buff Makeover Ideas
Since we know a little more about this magnificent product, let’s get some ideas on where to use it. I’ve seen some pretty amazing makeovers using this fun little tube of metallic wax. Commonly, I’ve seen it used on picture frames, light fixtures, hooks, cabinet hardware, and furniture hardware. I’ve also seen it applied to faucets, curtain rods, knobs, and decorative screws or nails.
The sky’s the limit as long as the object is on the list of recommended surfaces.
Antique Mirror DIY Rub’ N Buff Makeover
I found a precious antique gold mirror on one of my antique store outings and instantly fell in love. Unfortunately, it lost a bit of its luster when I got it home in the brighter light. The light in my house hit the mirror, and the gold viewed a bit too orange-toned for my taste. I wanted an aged and muted gold. After testing out Rub’ N Buff’s gold selection, I found the subtle European Gold to be the perfect muted antique gold for my decor style.
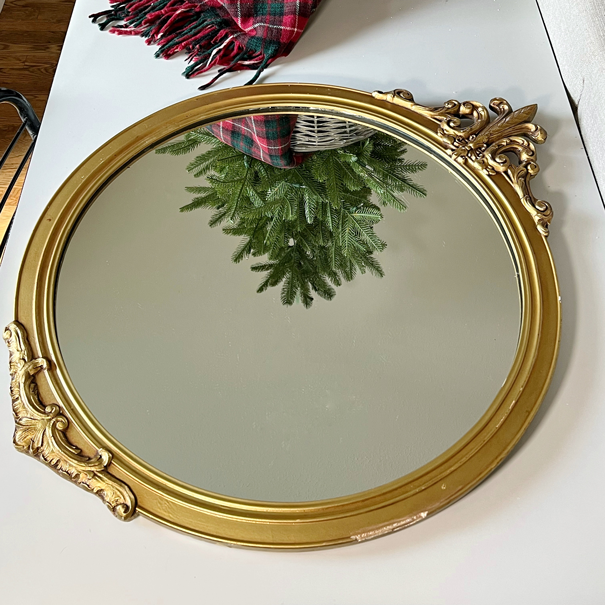
Prepping the Surface
The first step in the DIY antique gold mirror makeover was to prep the surface. It was one of the easier prep jobs I’d ever done since a Rub N’ Buff makeover requires no priming. I cleaned the mirror frame and waited for it to dry.
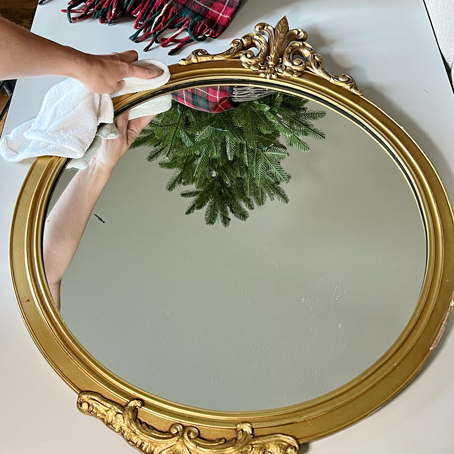
Rub’ N Buff DIY Makeover Magic
There are several ways to apply the waxy wonder to surfaces depending on the desired look. In my case, I wanted a thorough, even coverage look. I smeared a dollop of Rub’ N Buff to my rag and started rubbing it on in even motions. My antique mirror has beautiful ornate scrolling on the top and bottom. I used my finger and a rag to push the metallic wax into the crevices of the scroll design. I left the darker color in the detailing to add dimension and depth to the look. A paintbrush would have easily reached those deep nooks.
Tip: A black base coat and a paintbrush would be a fun and easy way to get a distressed look. Anytime a base color is showing through the top shade, the piece has a worn and aged patina.

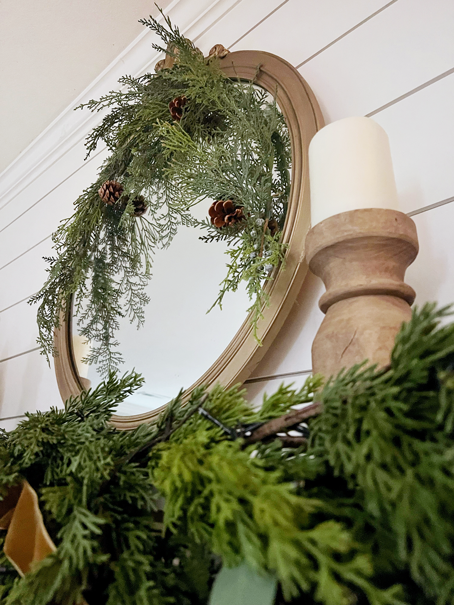
To Buff or Not to Buff?
The final step in the application of the wax is to buff shine into it. I chose to skip this step because I love the subtle muted look of the unbuffed surface. The more buff with this wonder wax, the more shine.

Hopefully, you found this Rub’ N Buff Makeover Guide practical and encouraging. An easy DIY product has the power to update or antique items we can cherish and love a lot longer with a simple gilded refinish. Saving money is always helpful too. Thanks, friends, for joining me. I always appreciate your questions and comments.
*This post contains some affiliate links for your convenience. I make a tiny portion of the sale with no additional cost to you whatsoever. Click here to read my full disclosure policy. Thank you for supporting this blog.*
0 Comments